Quickstart for i.MX 8M Plus
This page guides you through the steps for creating a virtual i.MX 8M Plus device with a stock firmware Yocto Linux (2.2.0), and shows how to access its Linux command line interface.
Create your device
To create your virtual i.MX 8M Plus device, do the following:
-
Log in to AVH with your Arm account at https://app.avh.corellium.com. If you do not have an Arm account you can register here.
-
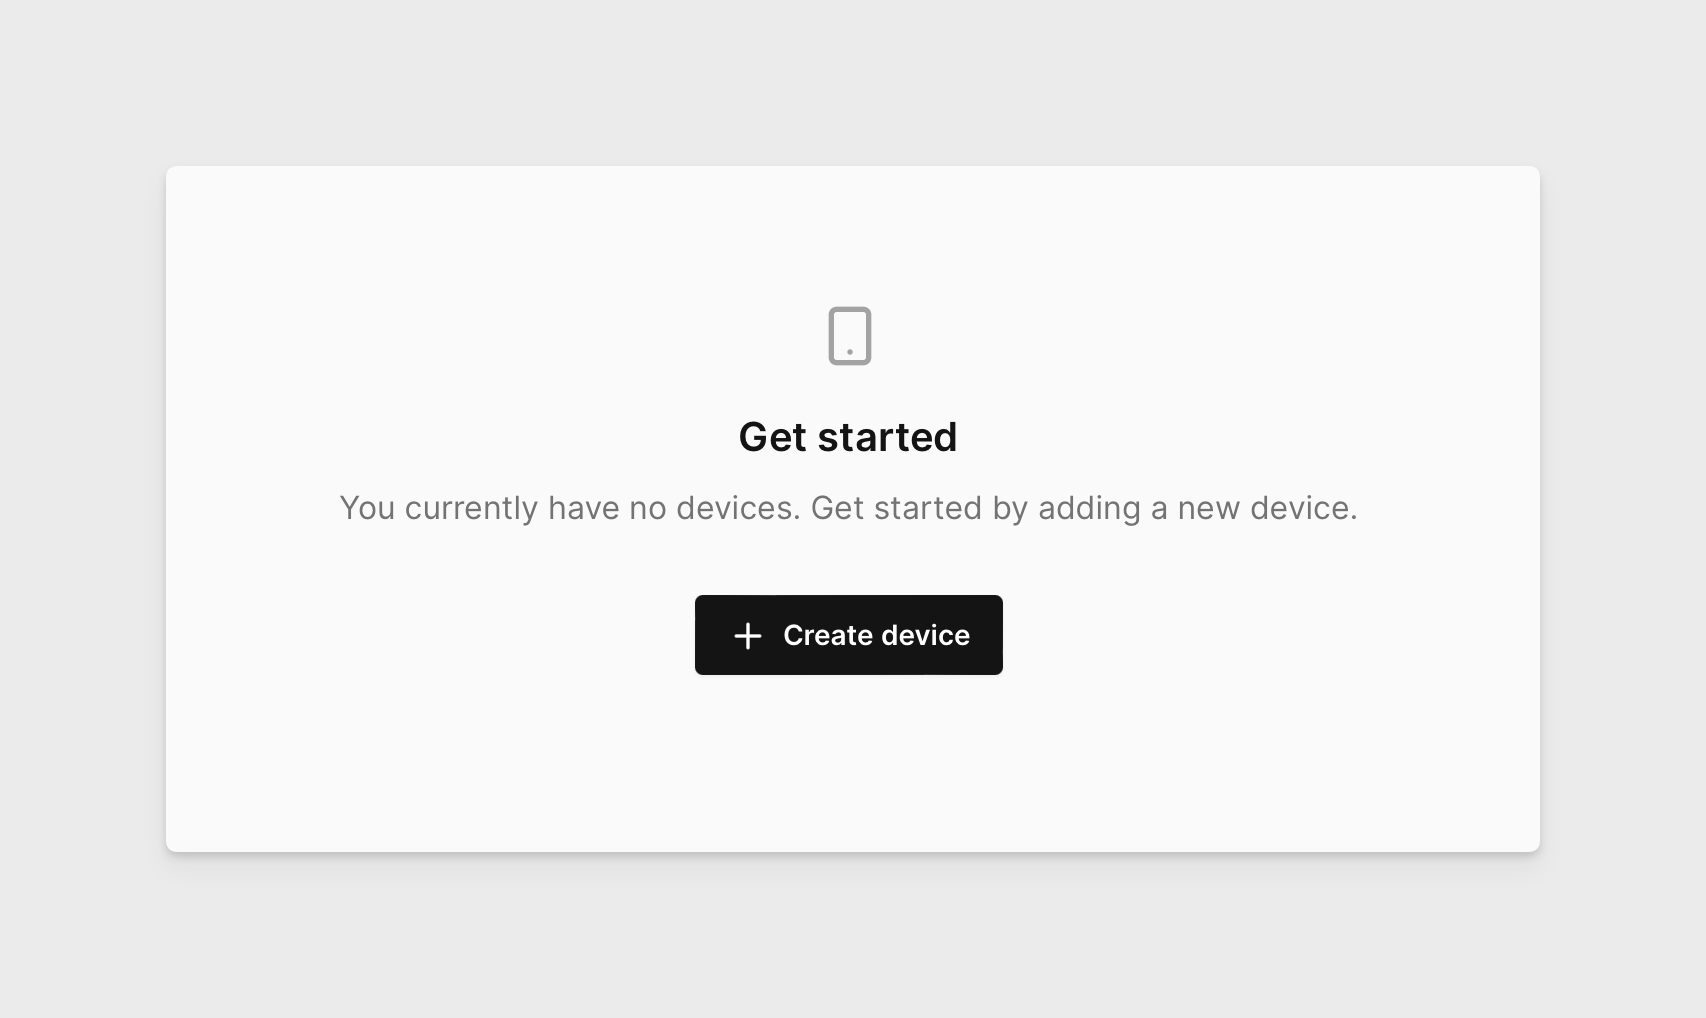
After login you should land on Devices page. Click CREATE DEVICE**:
-
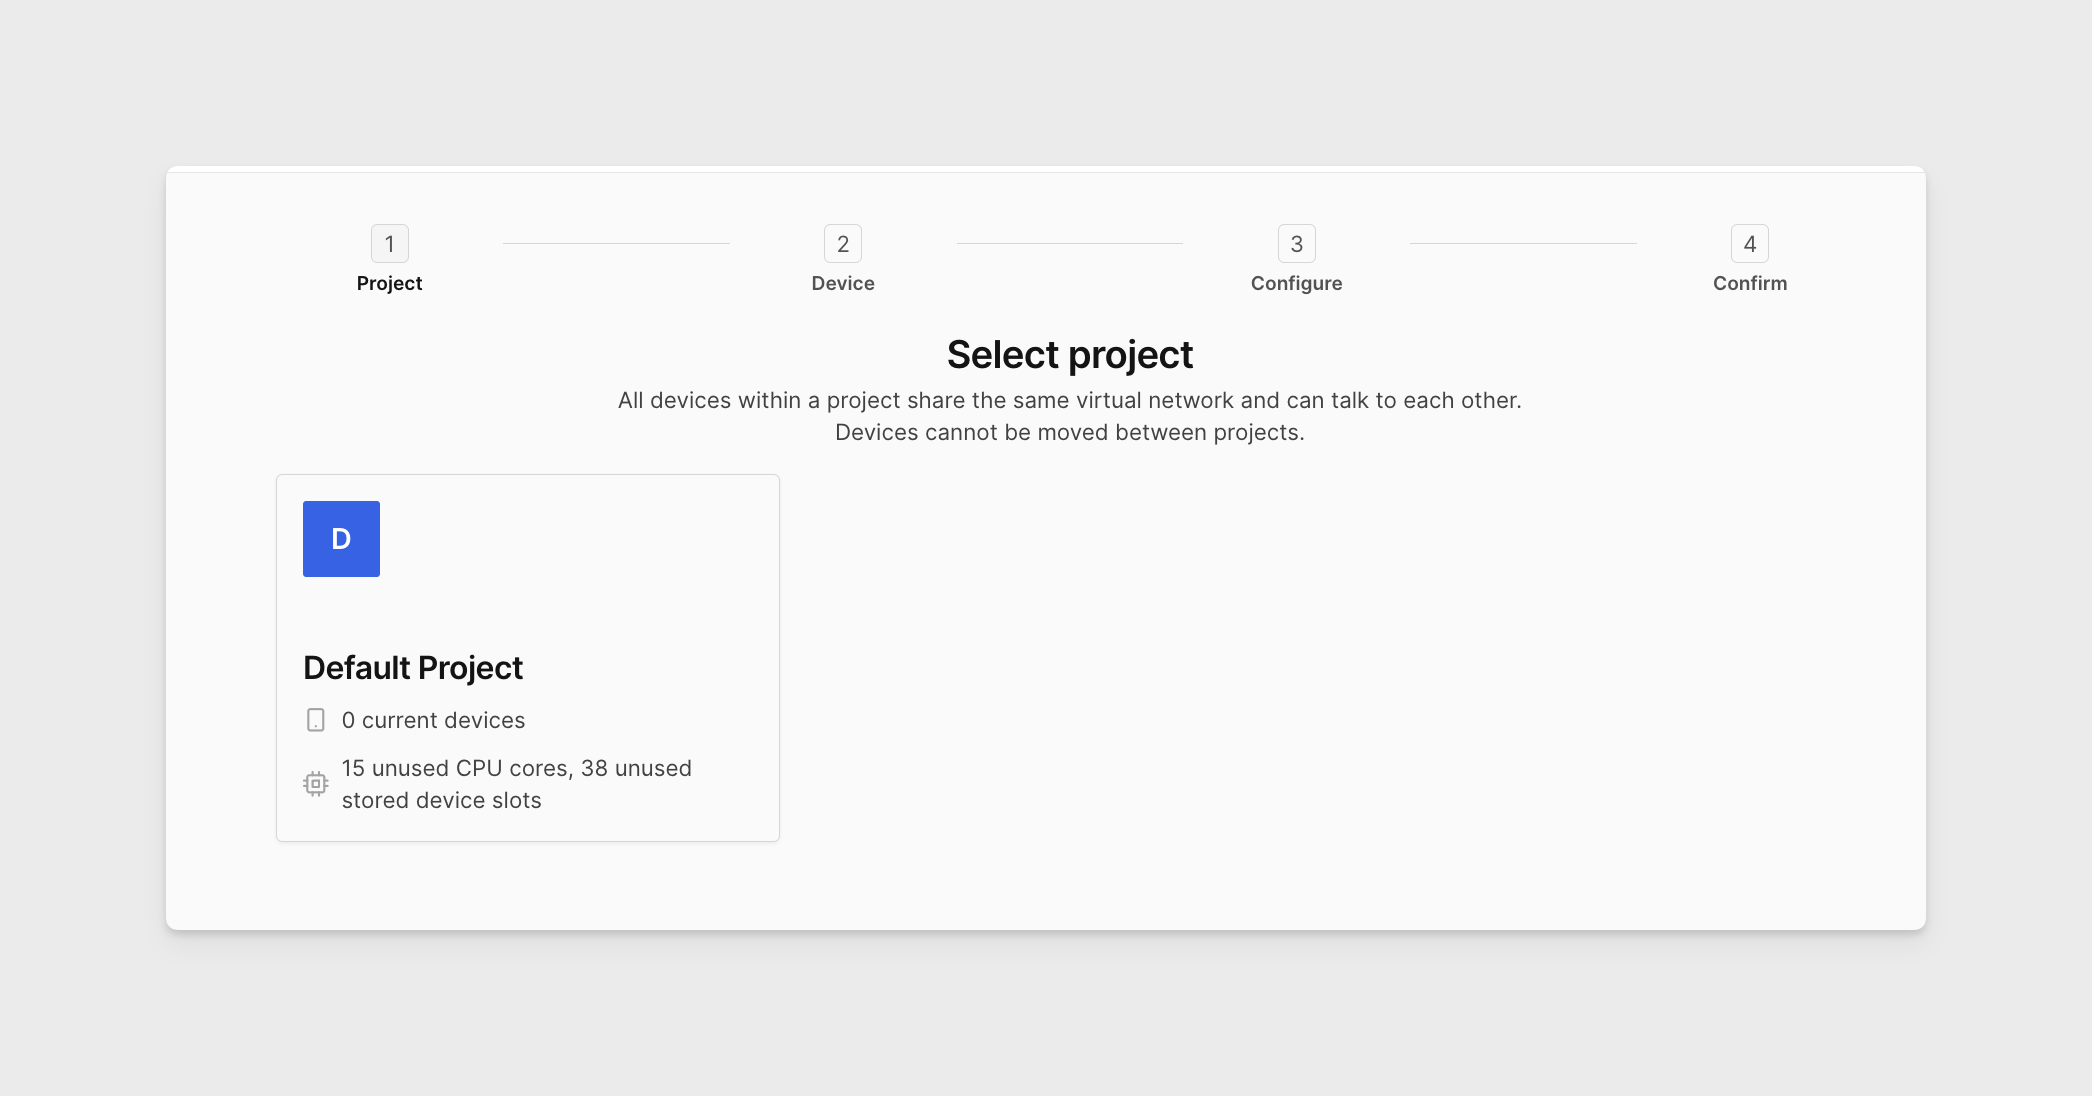
Select your project.
-
On the Select Device view, type
i.MXinto the search bar then click on the i.MX 8M Plus board.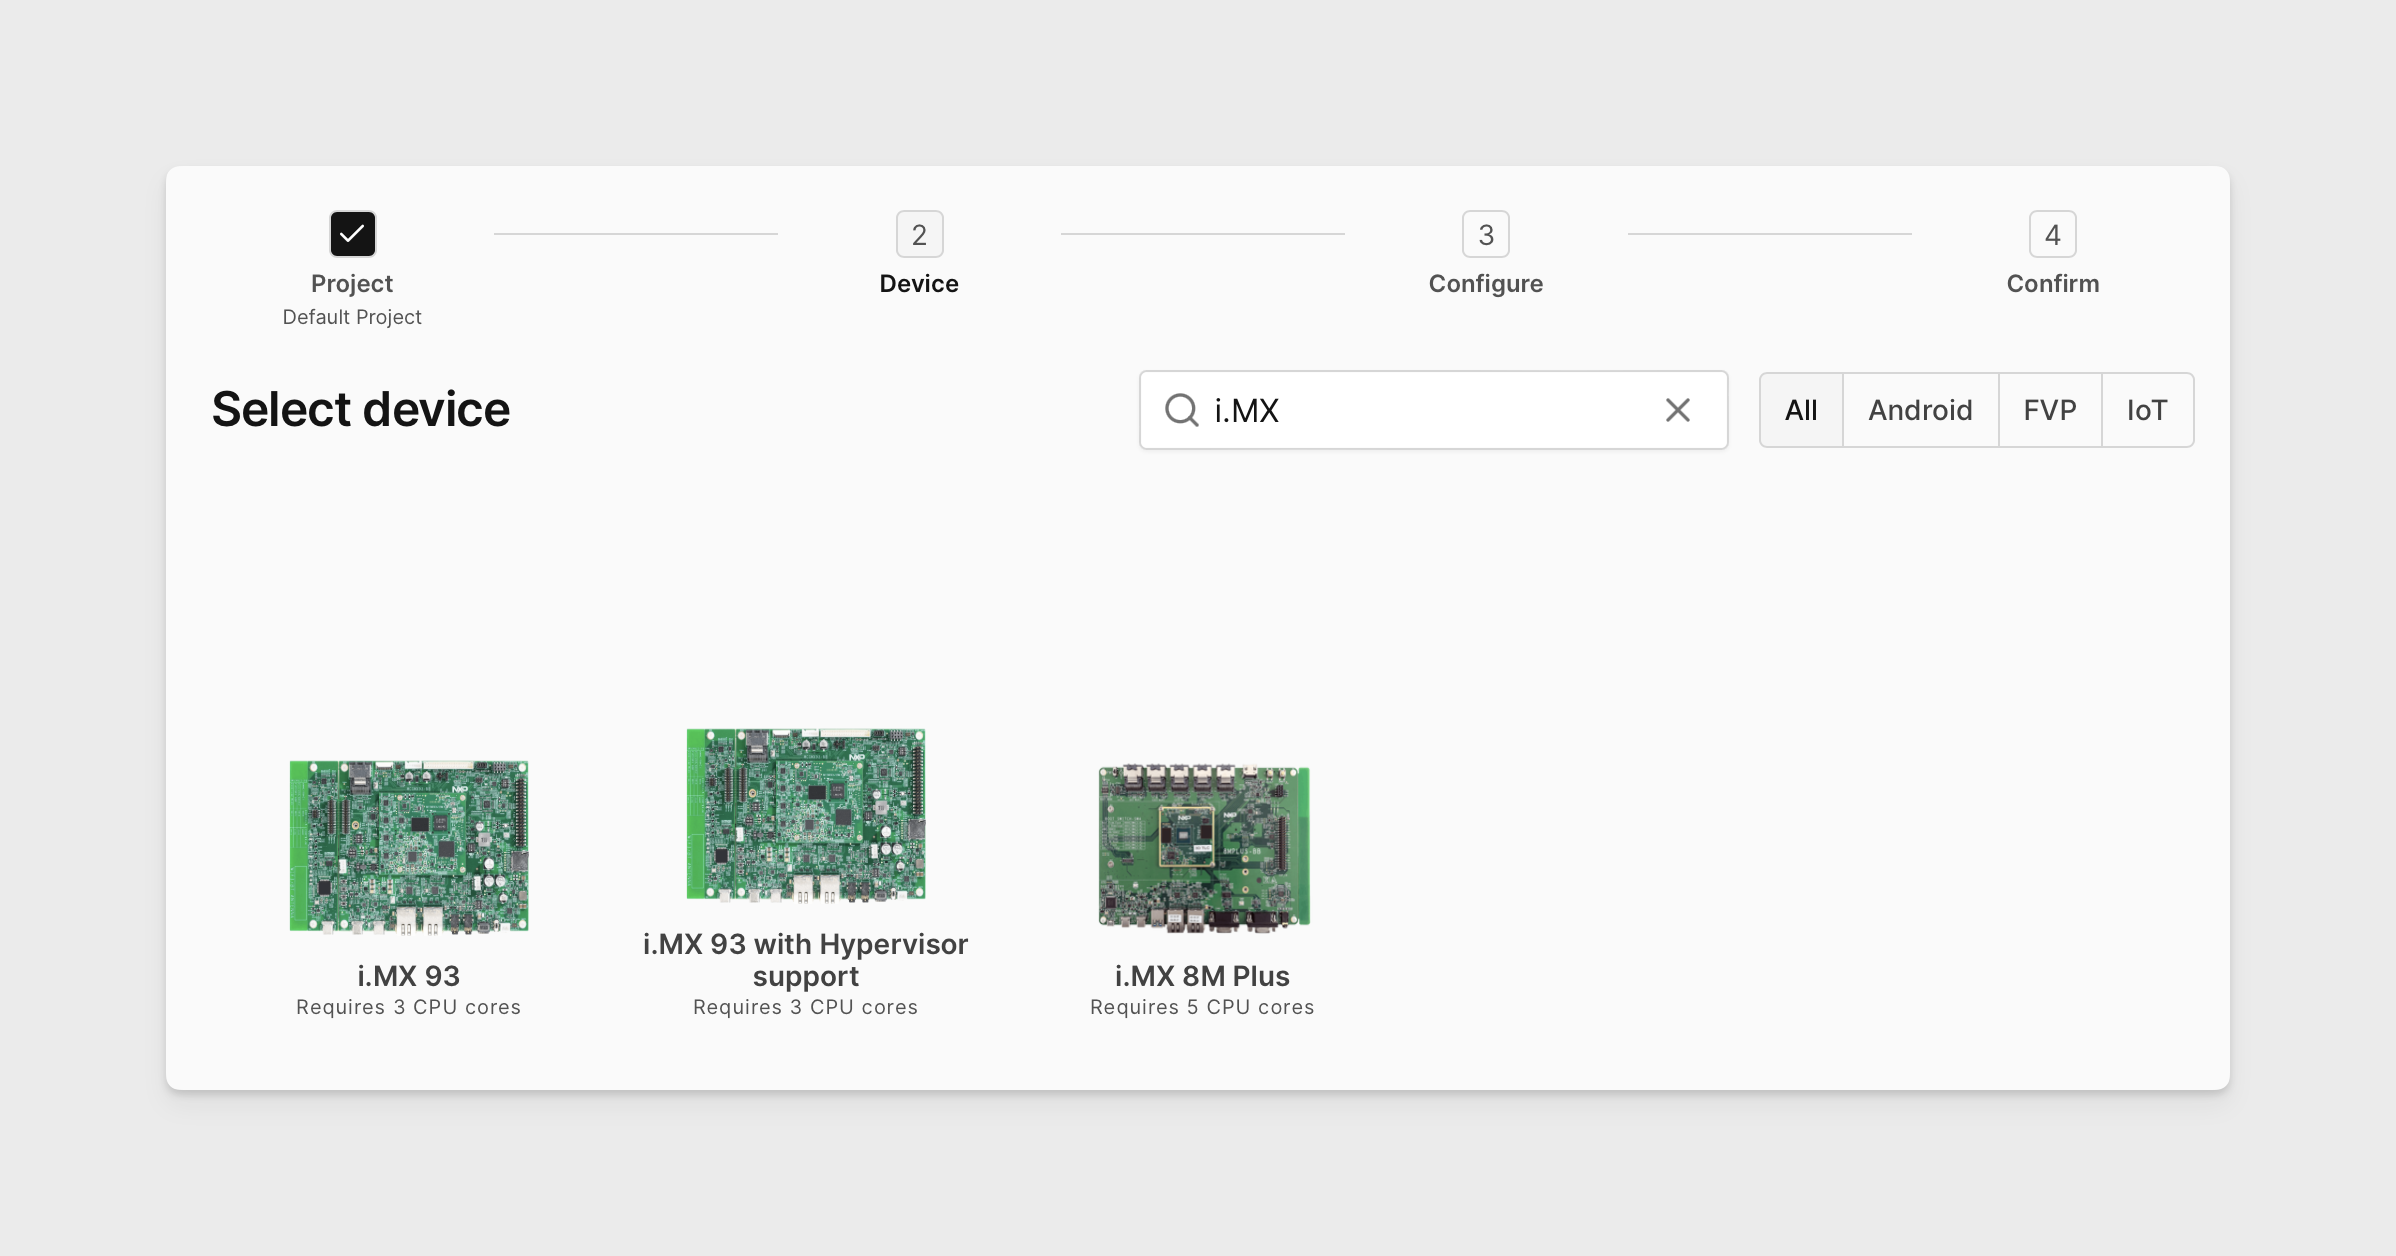
-
On the Configure your device screen, you will see a dropdown menu Select an example firmware with stock firmware options available for the target platform in AVH, see Stock Firmware for i.MX 8M Plus for more details. For this quickstart example, we will keep the default selection
Yocto Linux (2.2.1). Click SELECT.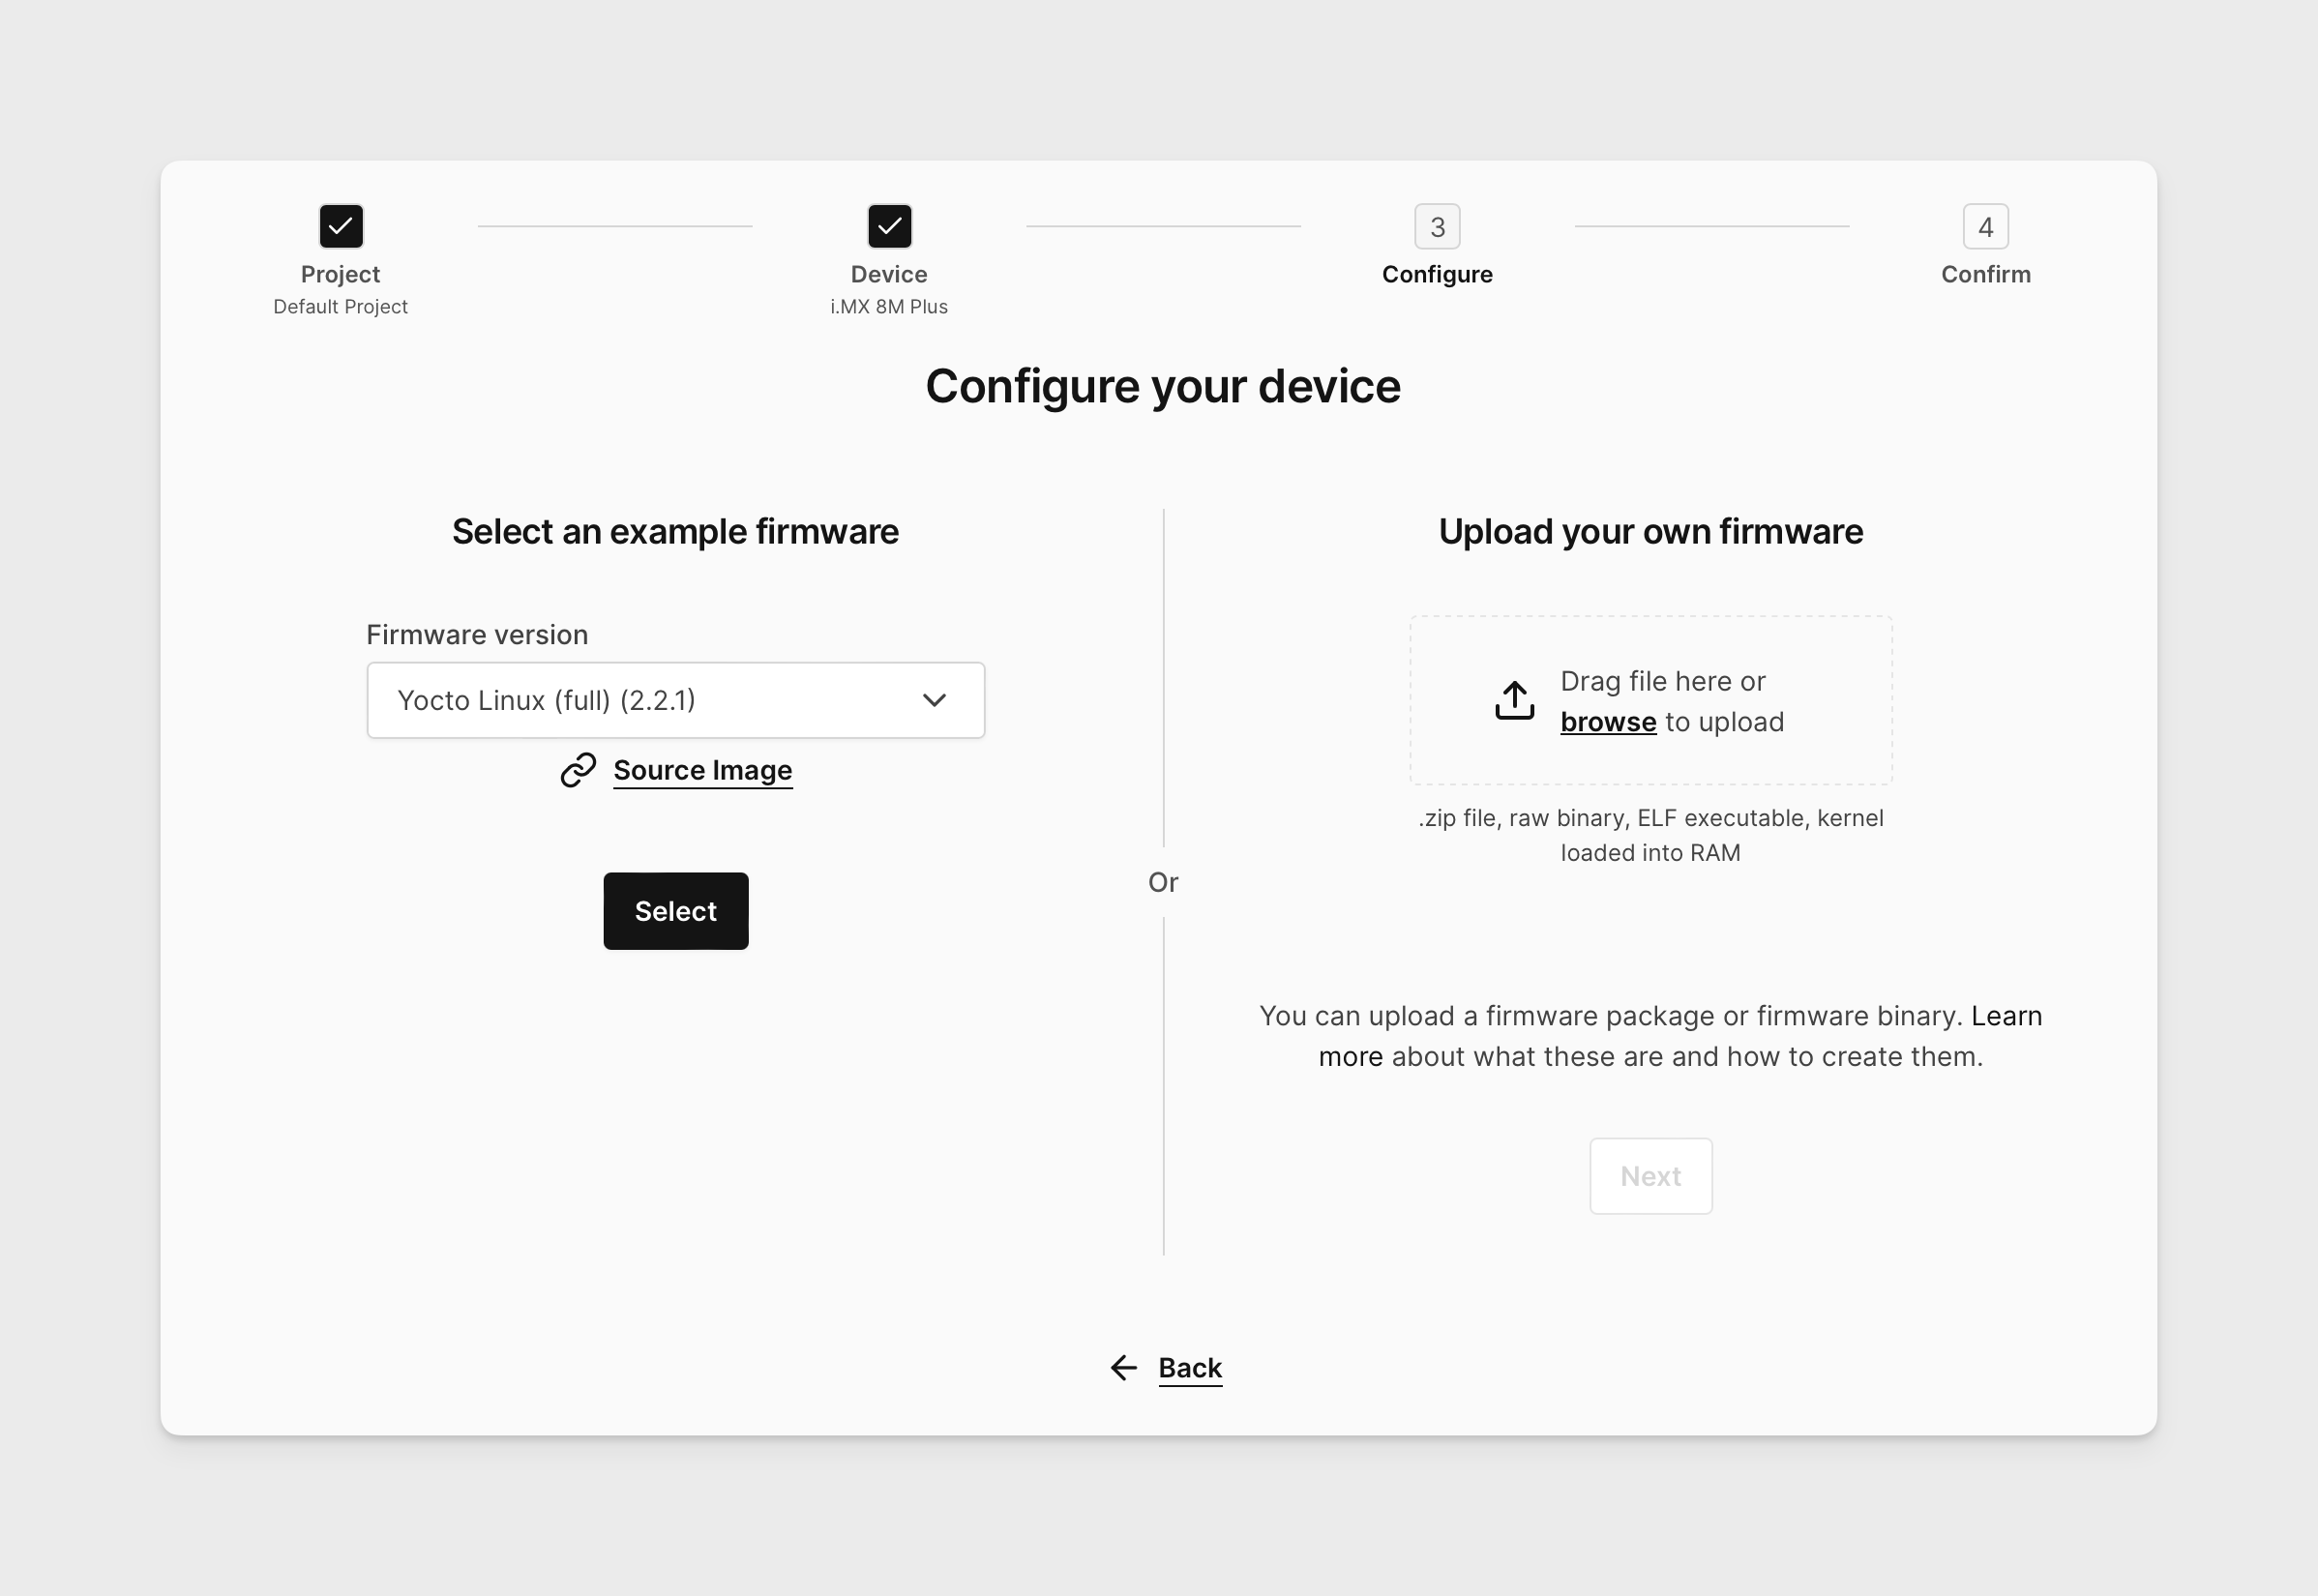
-
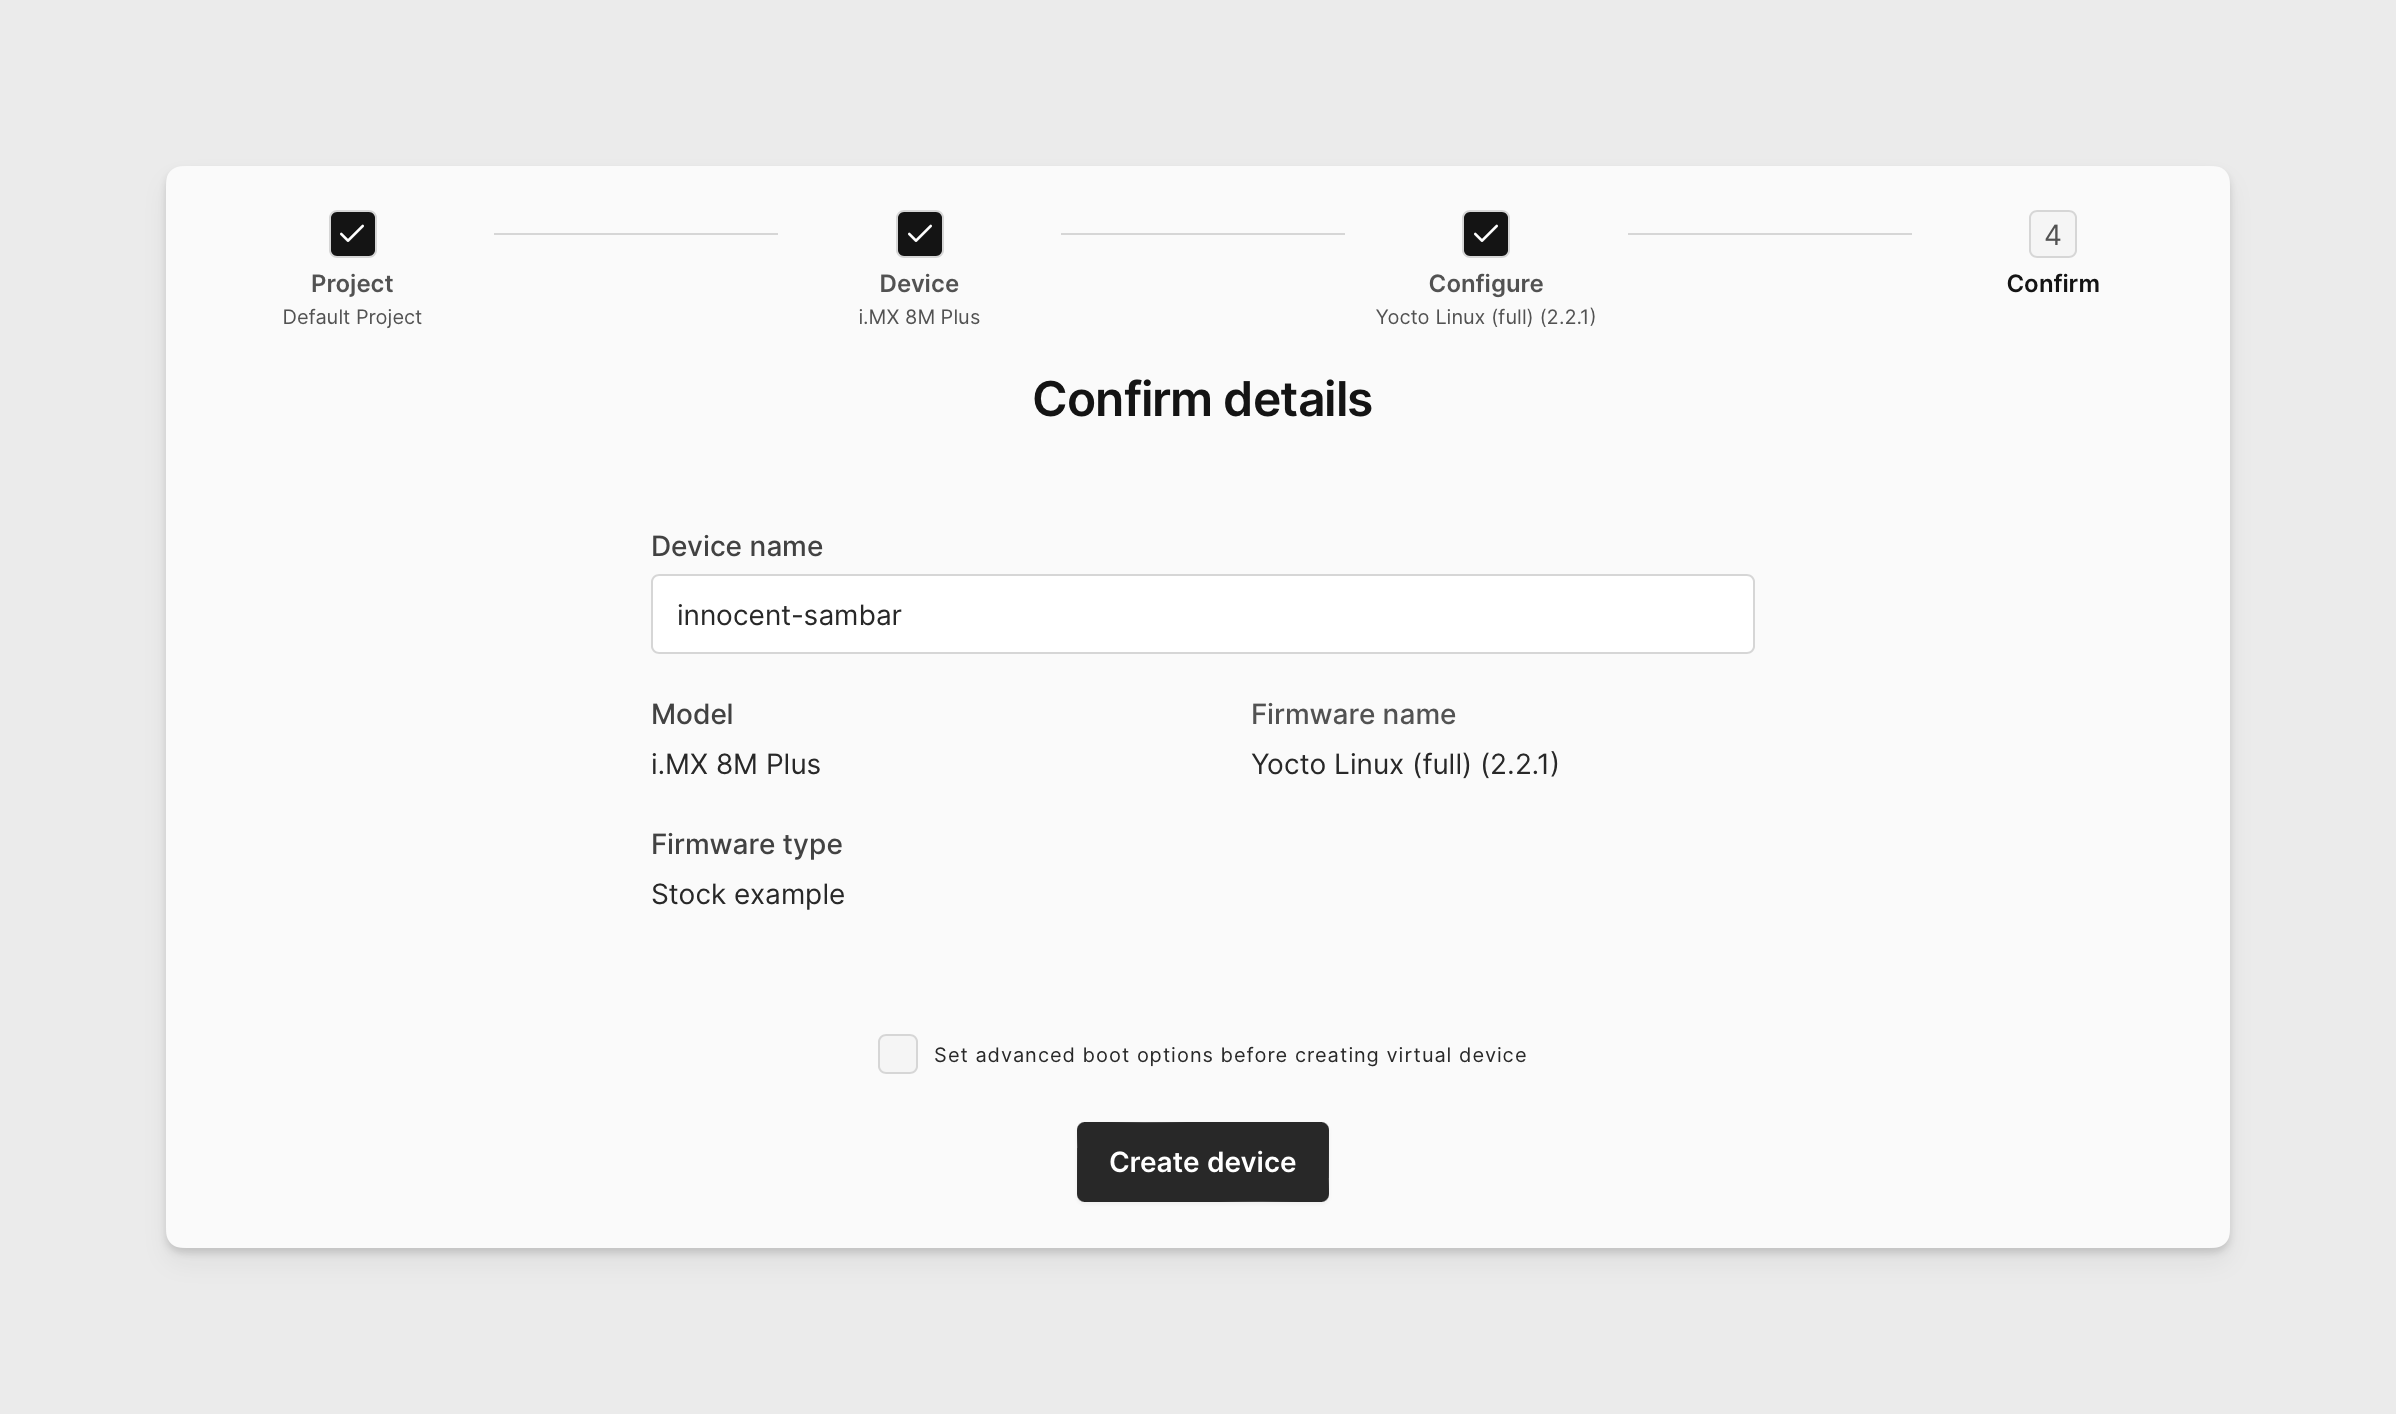
On the Confirm Details screen, you can specify the device name and verify your selections. Keep the advanced boot options unchecked and then click CREATE DEVICE.
-
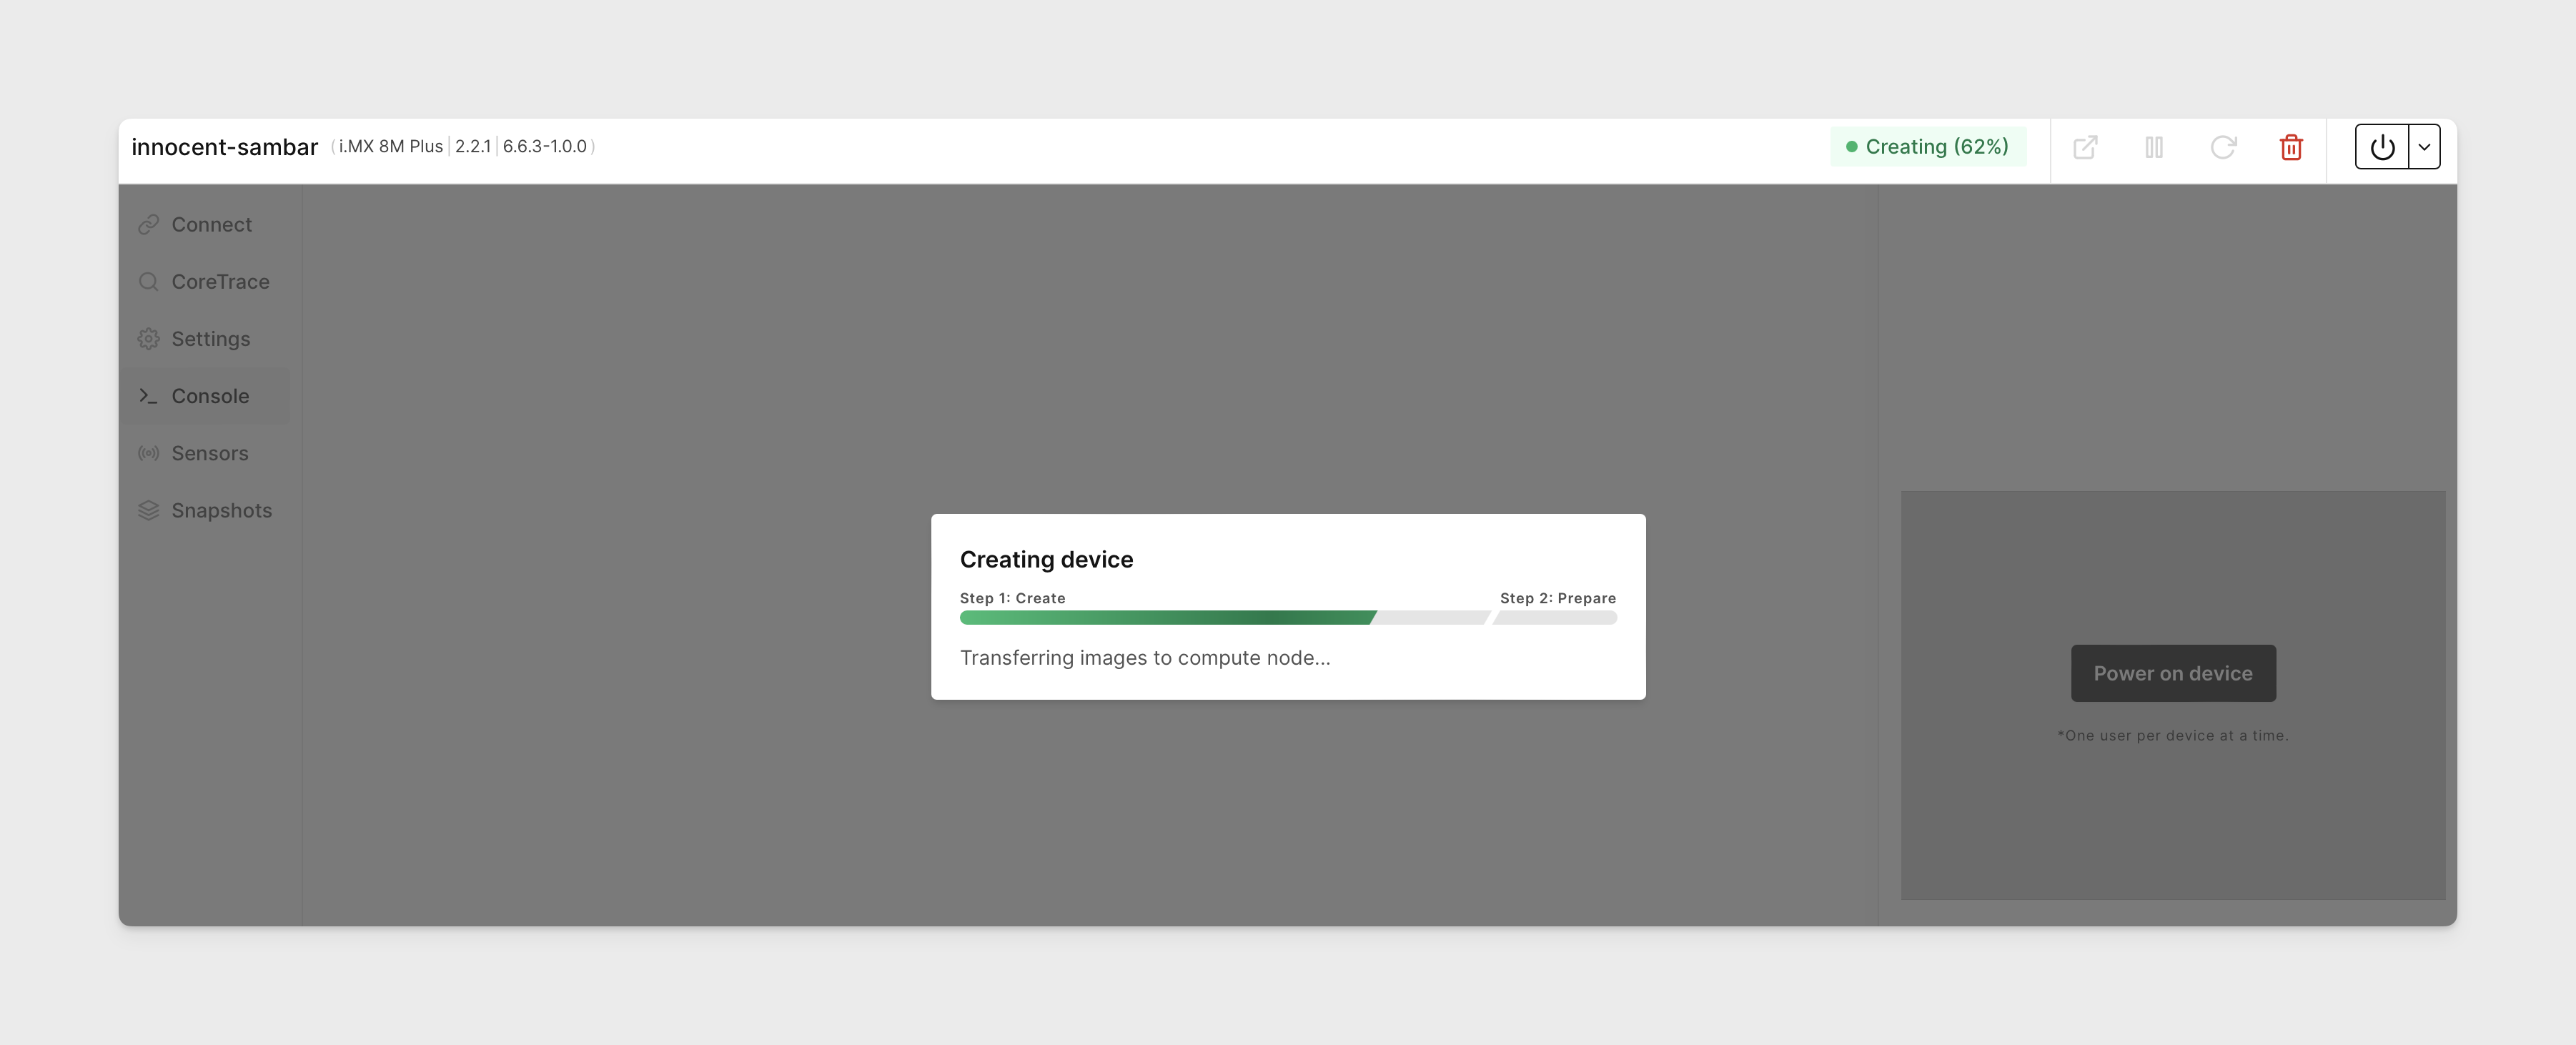
The device will then be created. It takes a few moments.
-
Your virtual i.MX 8M Plus board is now ready to go!
Log in to console
-
Let's log in to the Linux command line interface on the device. Click Console tab in device's menu, if not open by default. Type in the default username
rootthen hit the Return/Enter key. You should see the display name change toroot@imx8mpevk, meaning you are logged in.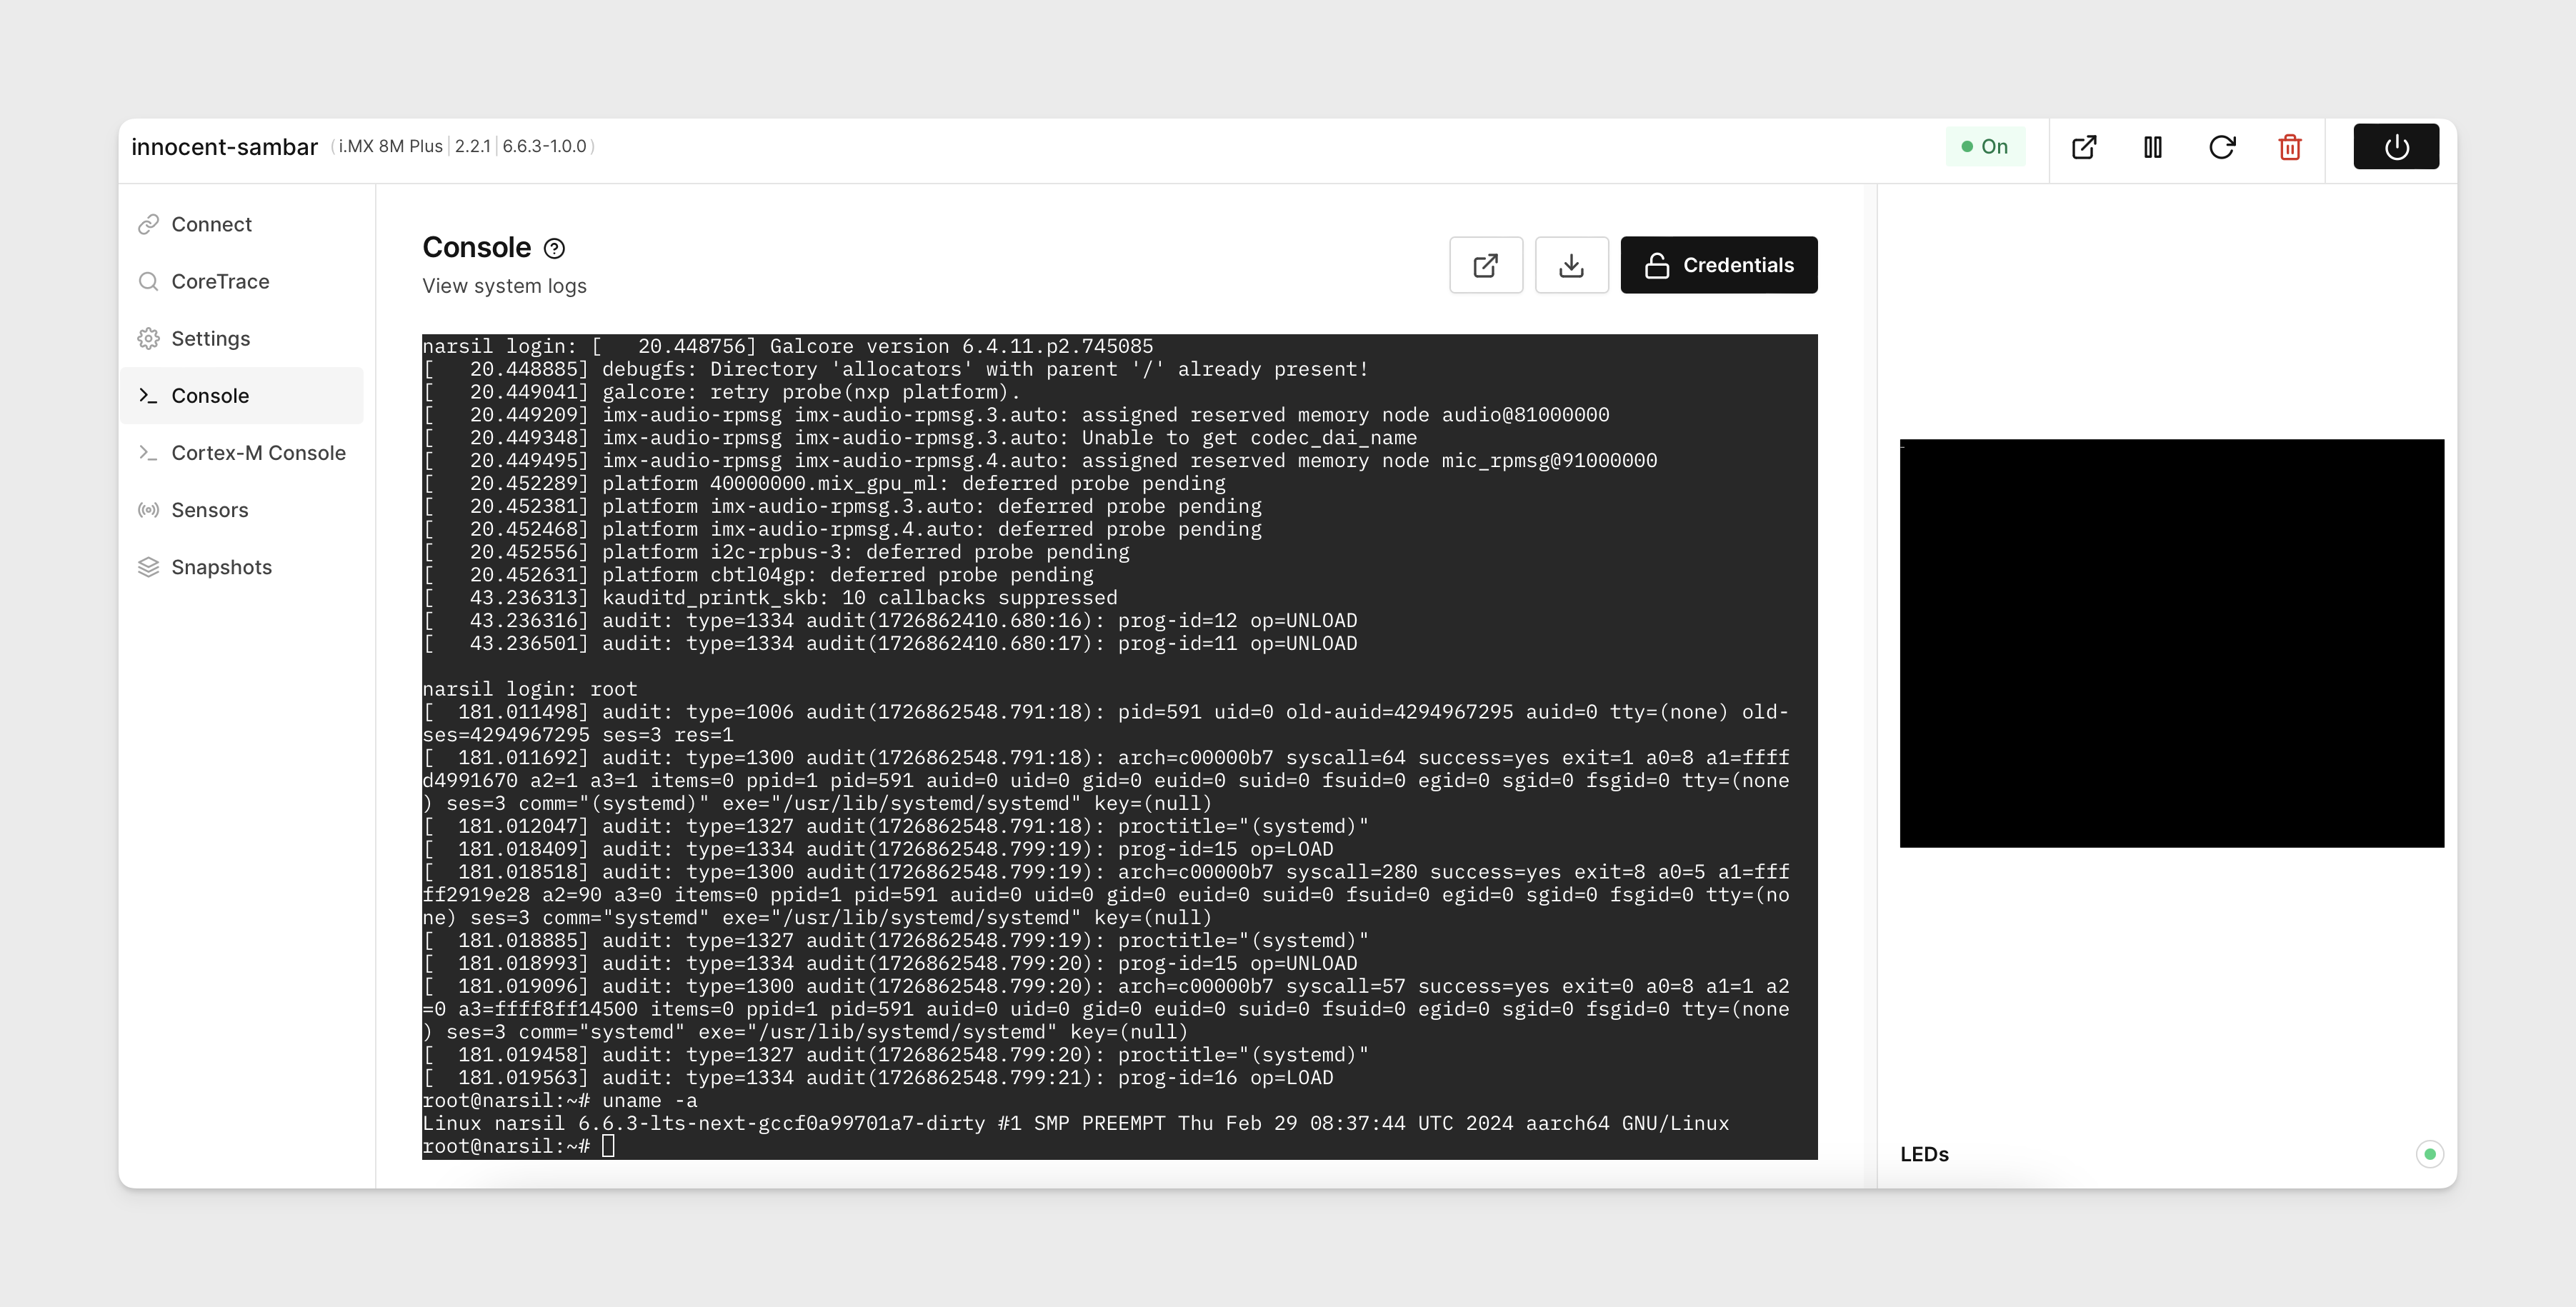
-
Now your device is set up, logged in and ready to use.
All four of the UARTs of the i.MX 8M Plus are available through the console drop down menu. Depending on your linux build the default console may not be the UART 0 as identified in the NXP documentation.

Next steps
For next steps see i.MX 8M Plus overview page with references to more usage examples.