Connect to Wi-Fi on Raspberry Pi 4
The virtual Raspberry Pi 4 board by default connects to the AVH LAN over its Ethernet interface. You can also set up a connection over the emulated Wi-Fi interface, as demonstrated below.
-
Create a Raspberry Pi 4 device (we use the "lite" stock firmware in this example) and log in using the default credentials
(pi/raspberry). Quickstart for Raspberry Pi 4 explains this step in more details.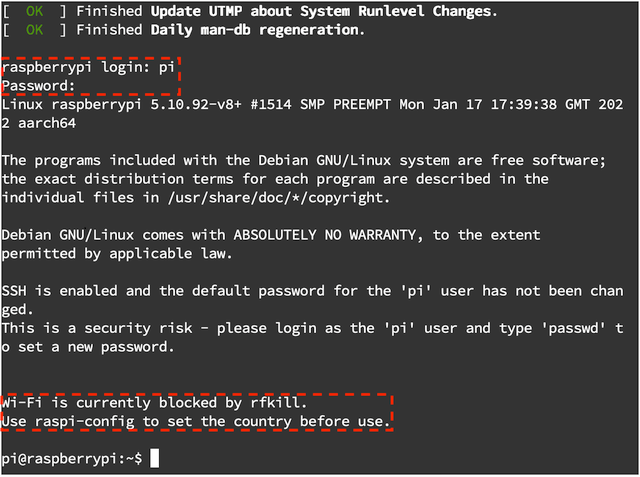
-
Open the Raspberry Pi configuration tool
raspi-config.sudo raspi-config
See raspi-config documentation to learn more about the configuration tool.
-
Select
System Options(menu item 1).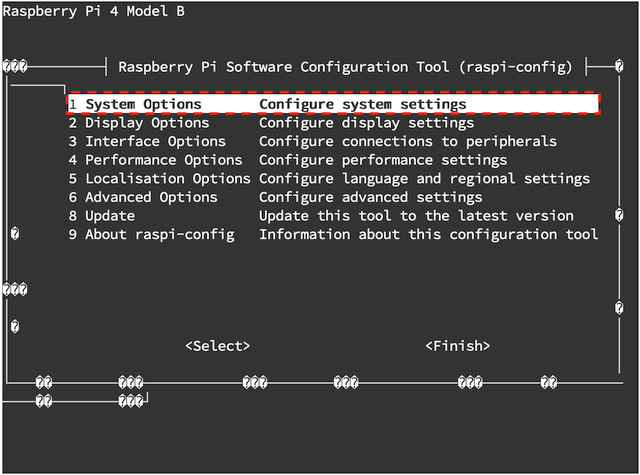
-
Select
Wireless LAN(menu item S1).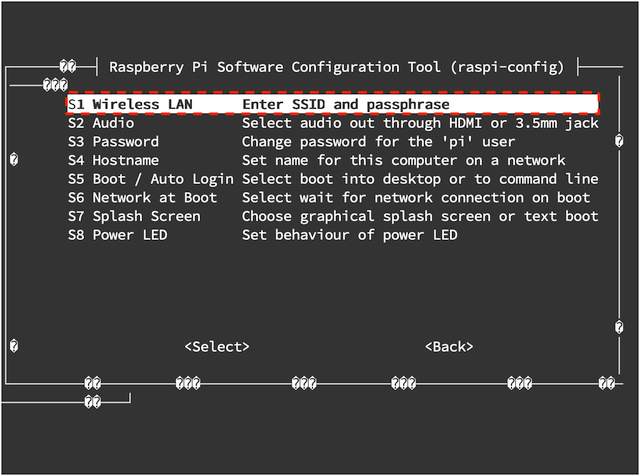
-
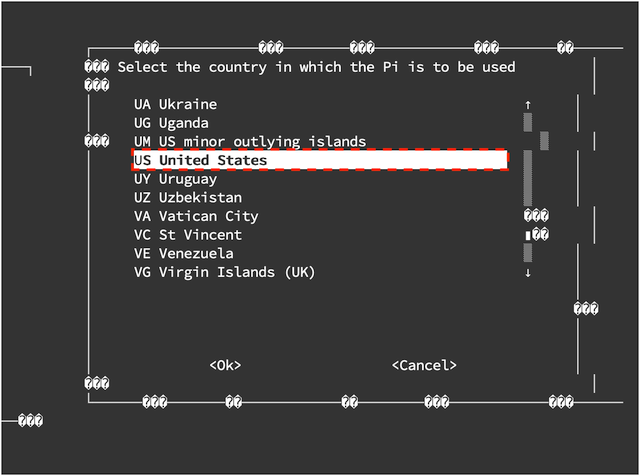
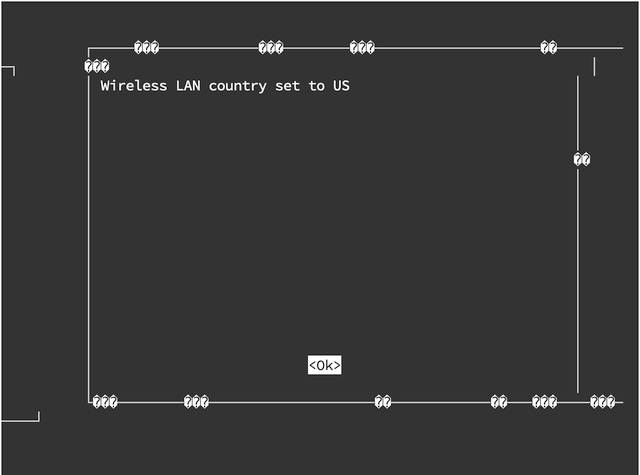
Set the country. In our example, we will use the United States. (Type "u" to quickly navigate the menu).
-
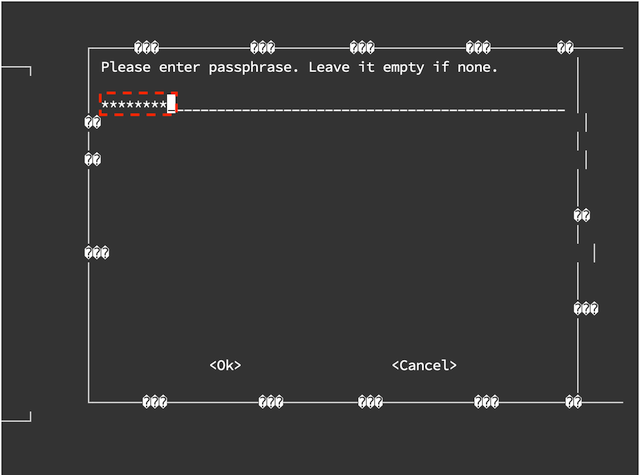
Set the SSID to Arm and the passphrase to
password.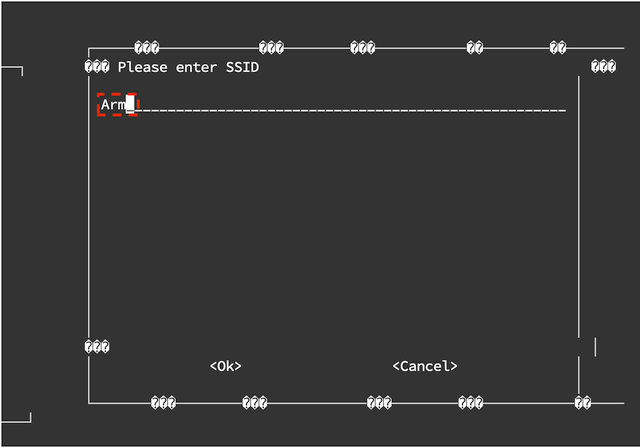
-
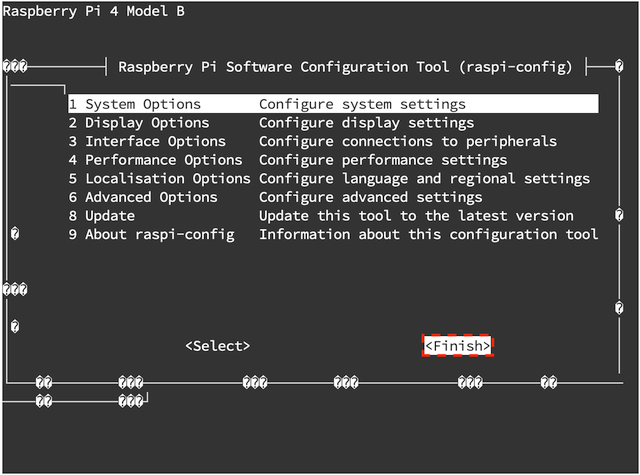
At the main configuration screen, choose Finish. (Push the right arrow on your keyboard twice).
-
Do not reboot the machine.

-
Verify that the wlan0 interface shows a valid IPv4 address that does not start with 169. Please note: the IPv6 address for this interface is a local-link auto address and not a real IPv6 address.
ip addr show wlan0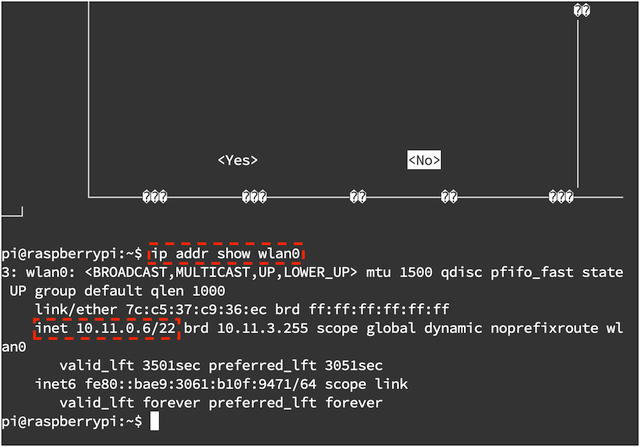
-
Test the Wi-Fi connection to the internet by turning off the ethernet interface and trying to ping a public domain. Look for a result of
0% packet loss.sudo ifconfig eth0 down
ping -c5 aws.com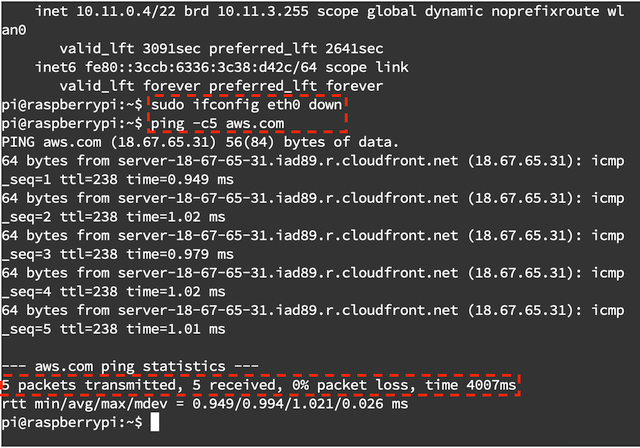
-
After the test, you can bring the ethernet interface back up.
sudo ifconfig eth0 up