Upload Custom Firmware in Web UI
This tutorial demonstrates how to upload custom firmware to a new virtual device. It uses Raspberry Pi 4 as the target platform, but the approach is similar for other devices.
-
Log in to AVH with your Arm user account. If you do not have or need to create an Arm account register here.
-
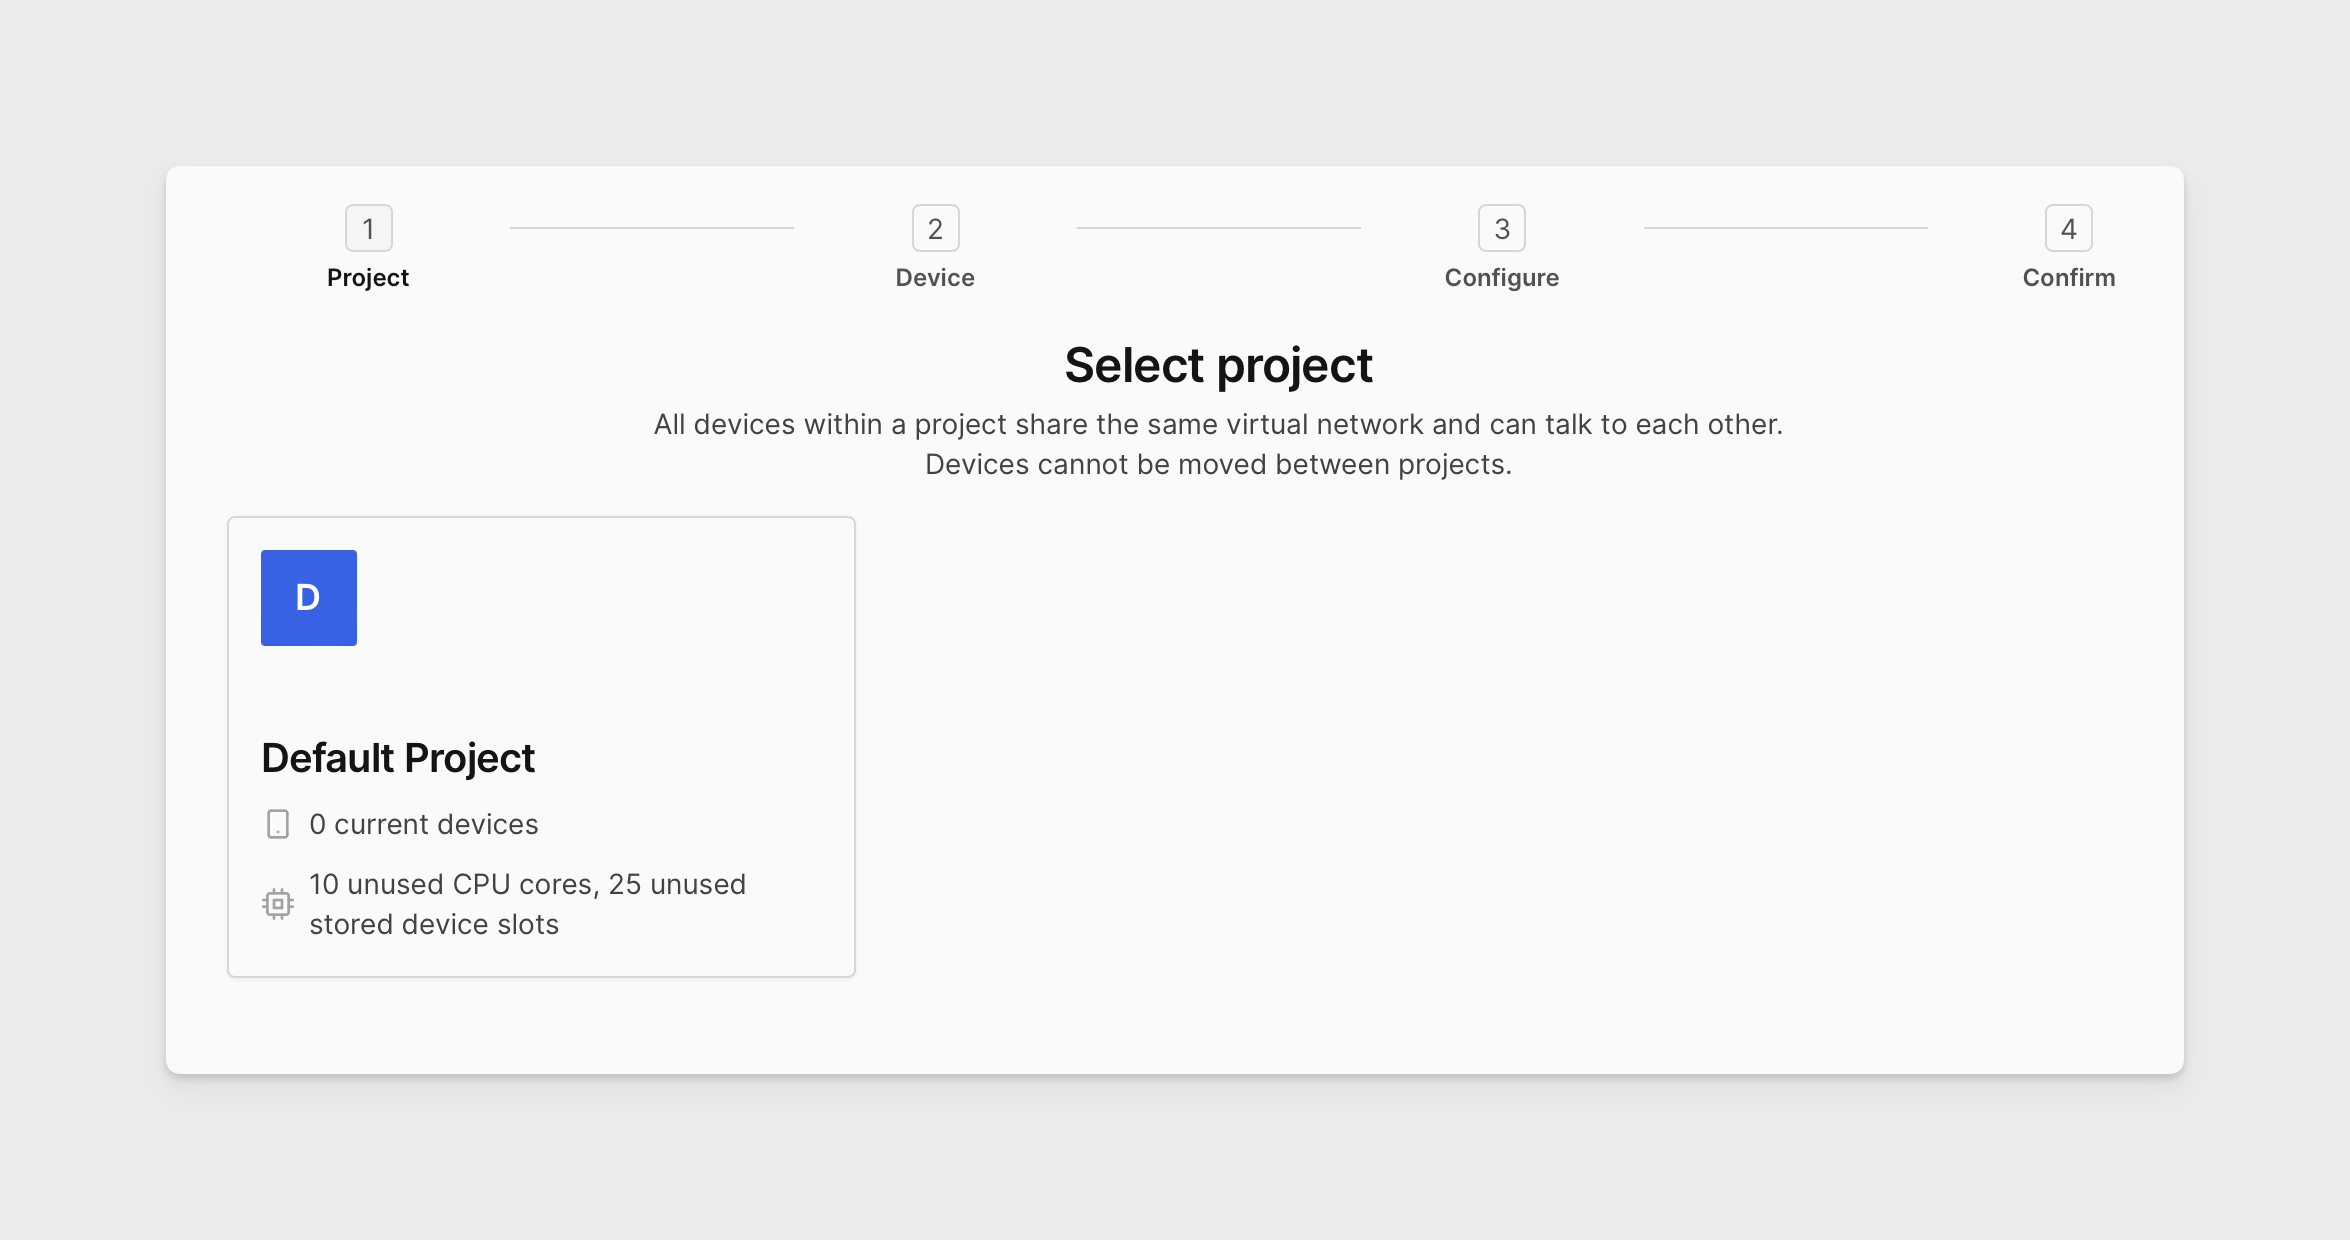
When logged in you land on the AVH Devices page. Click CREATE DEVICE.

-
Click on the Raspberry Pi 4 to select it. Then click NEXT.

-
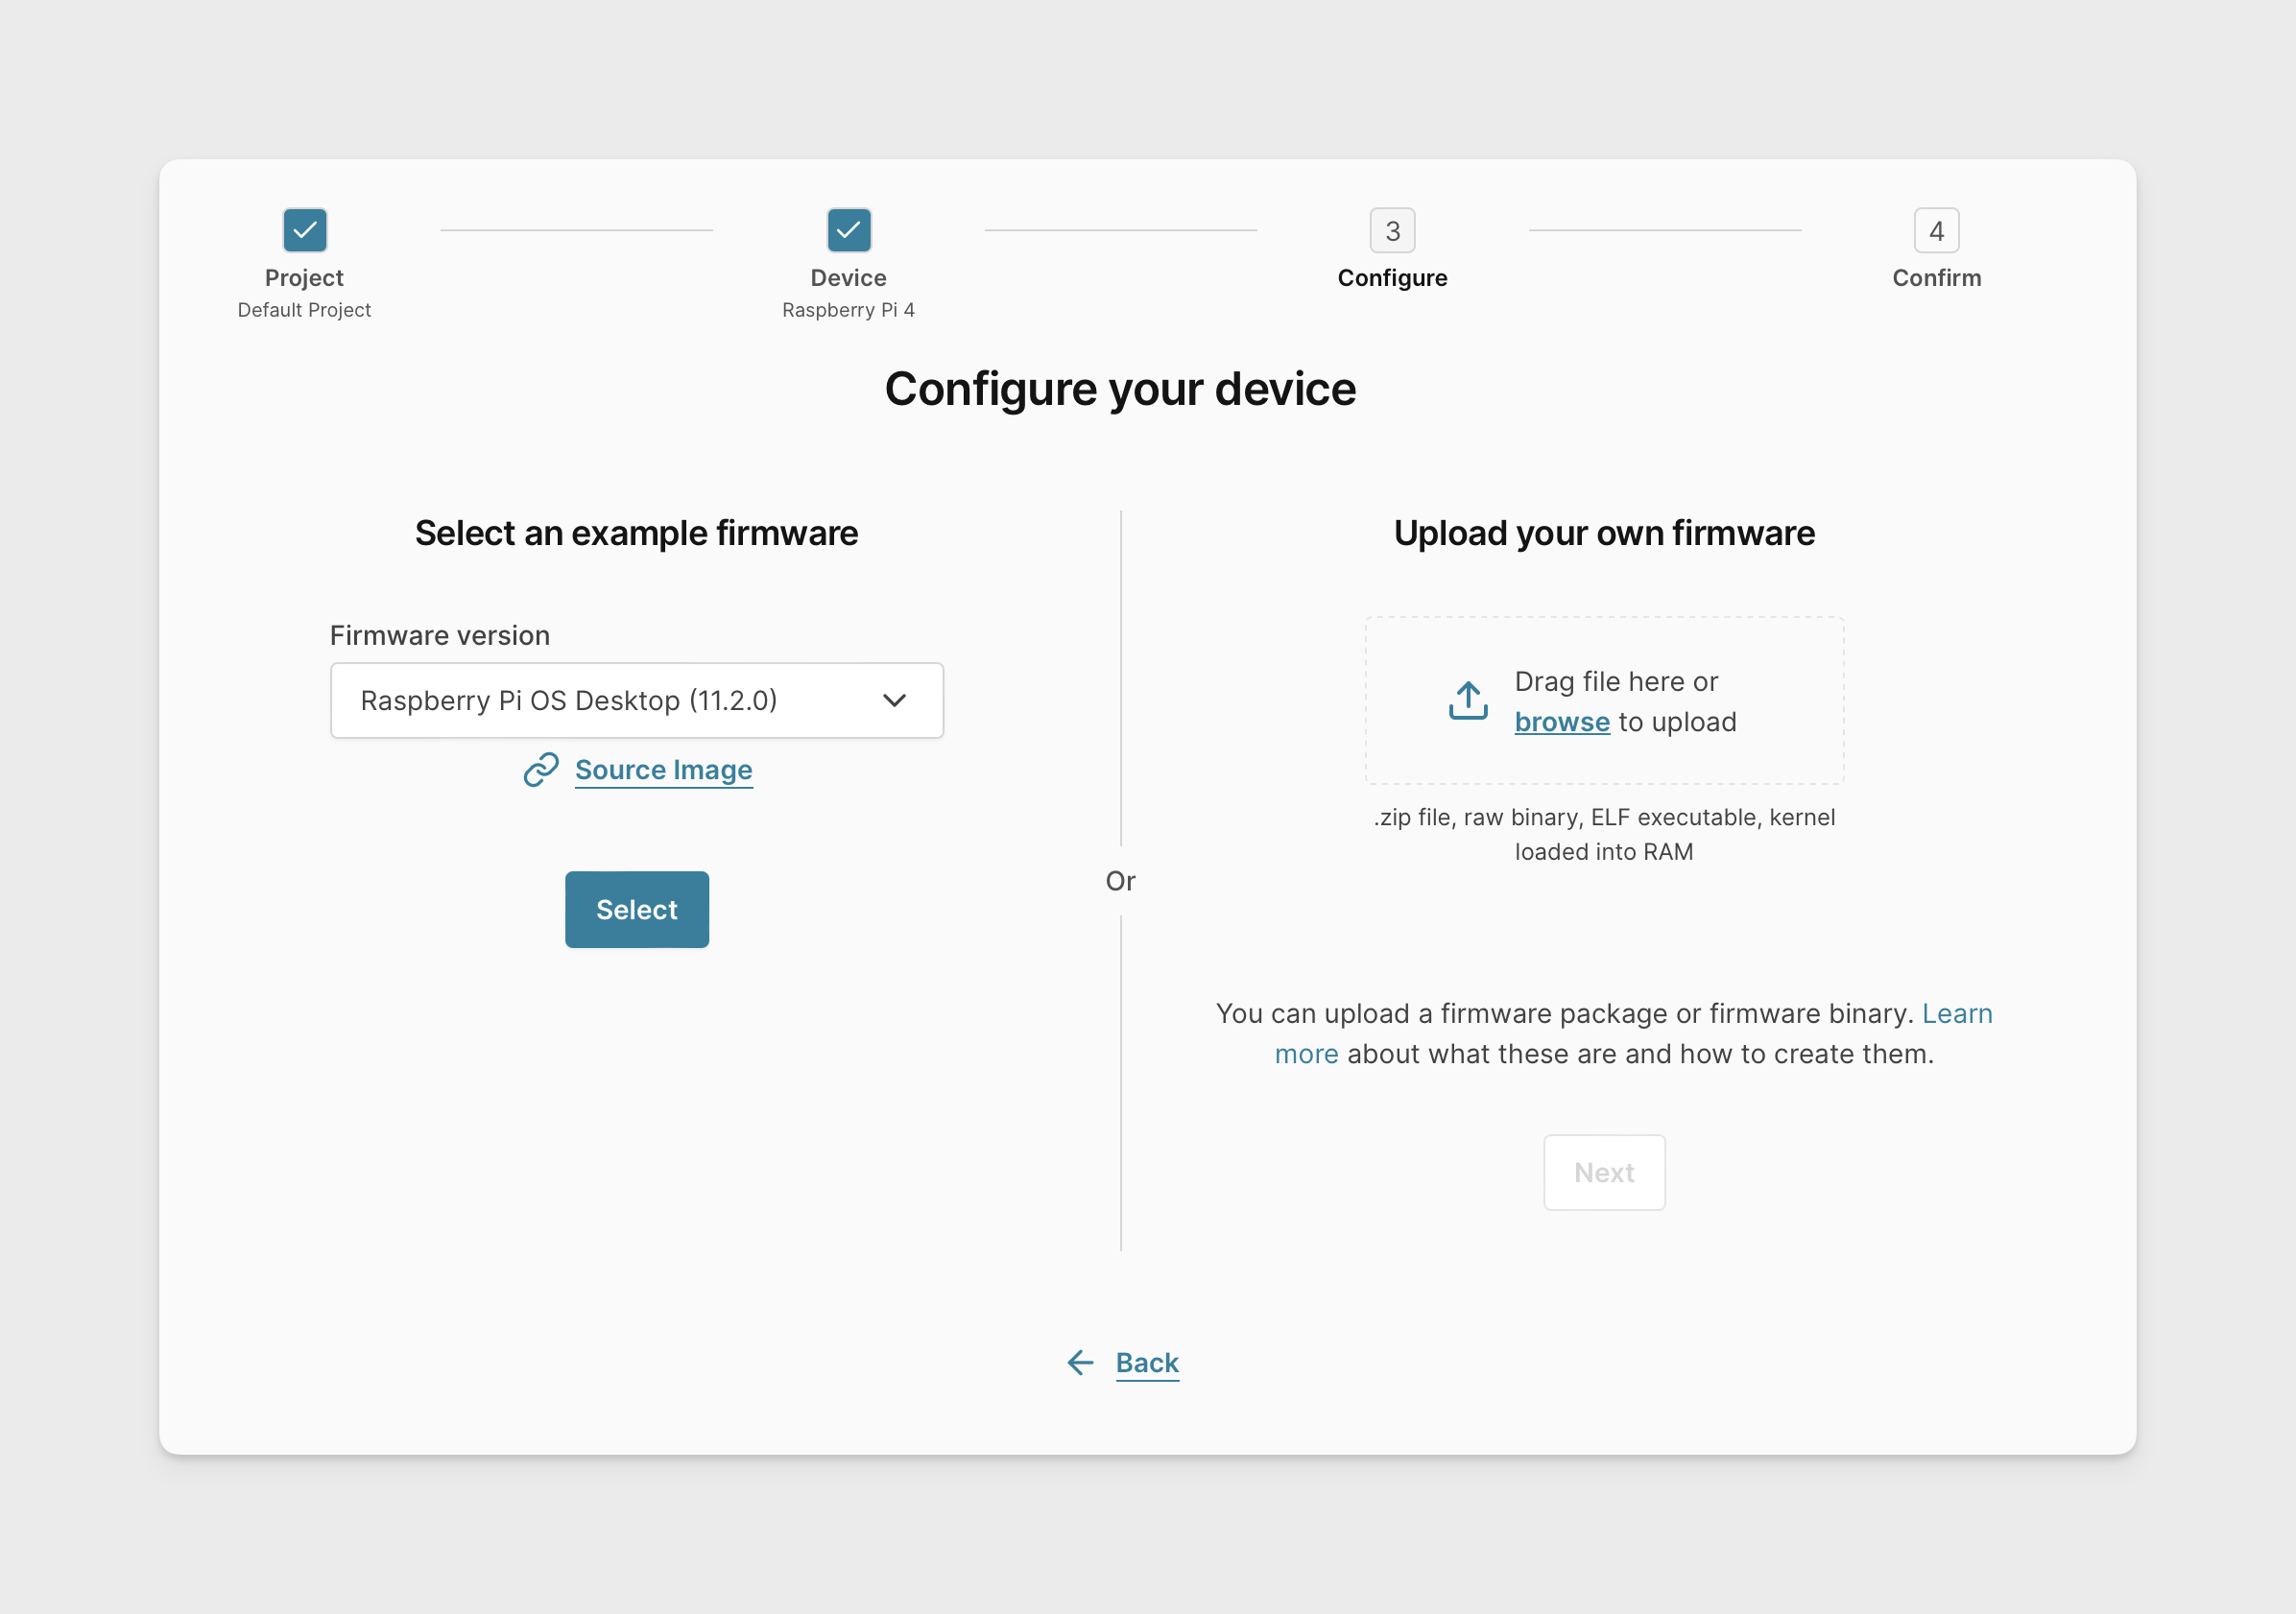
In this next step, you'll see a list of pre-configured examples/stock firmware or you can upload your own custom firmware package. Either drag&drop your custom firmware into the Drag file here box, or use the browse option, navigate and select the desired custom firmware.

-
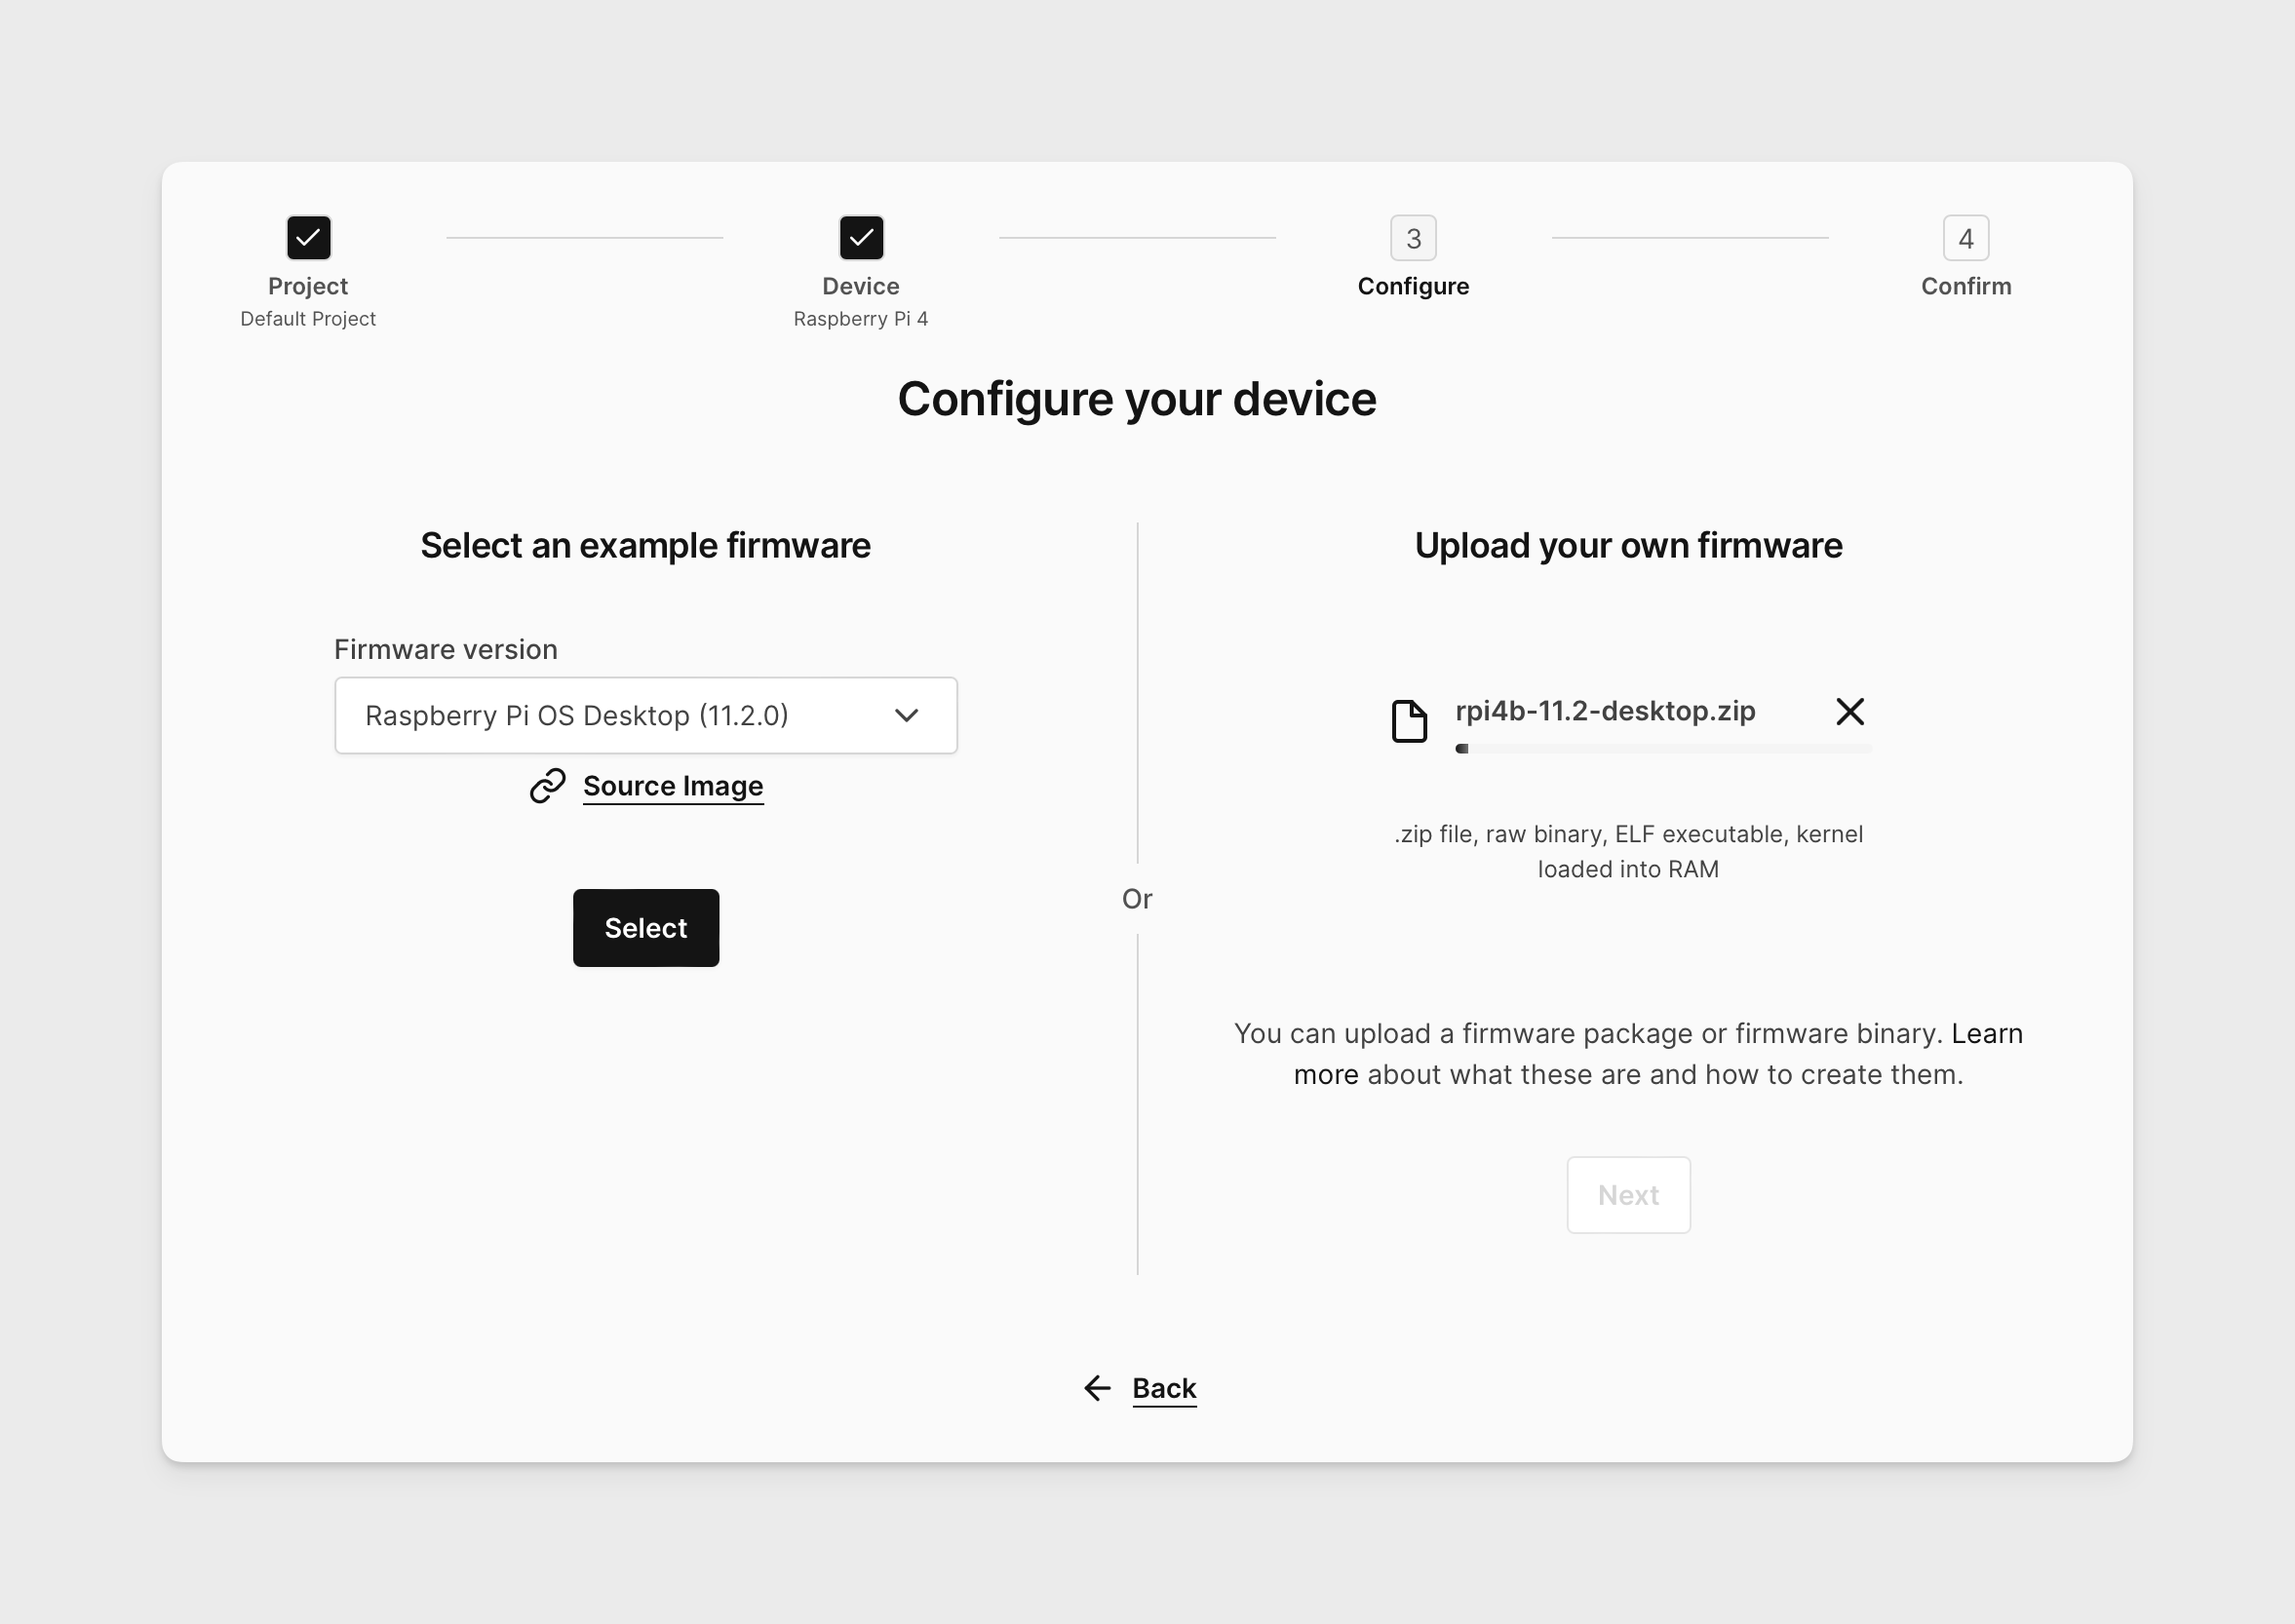
You will see the progress of your custom firmware uploading. This might take a while, depending on the size of custom firmware you’re uploading. Once the upload is complete, click NEXT.

-
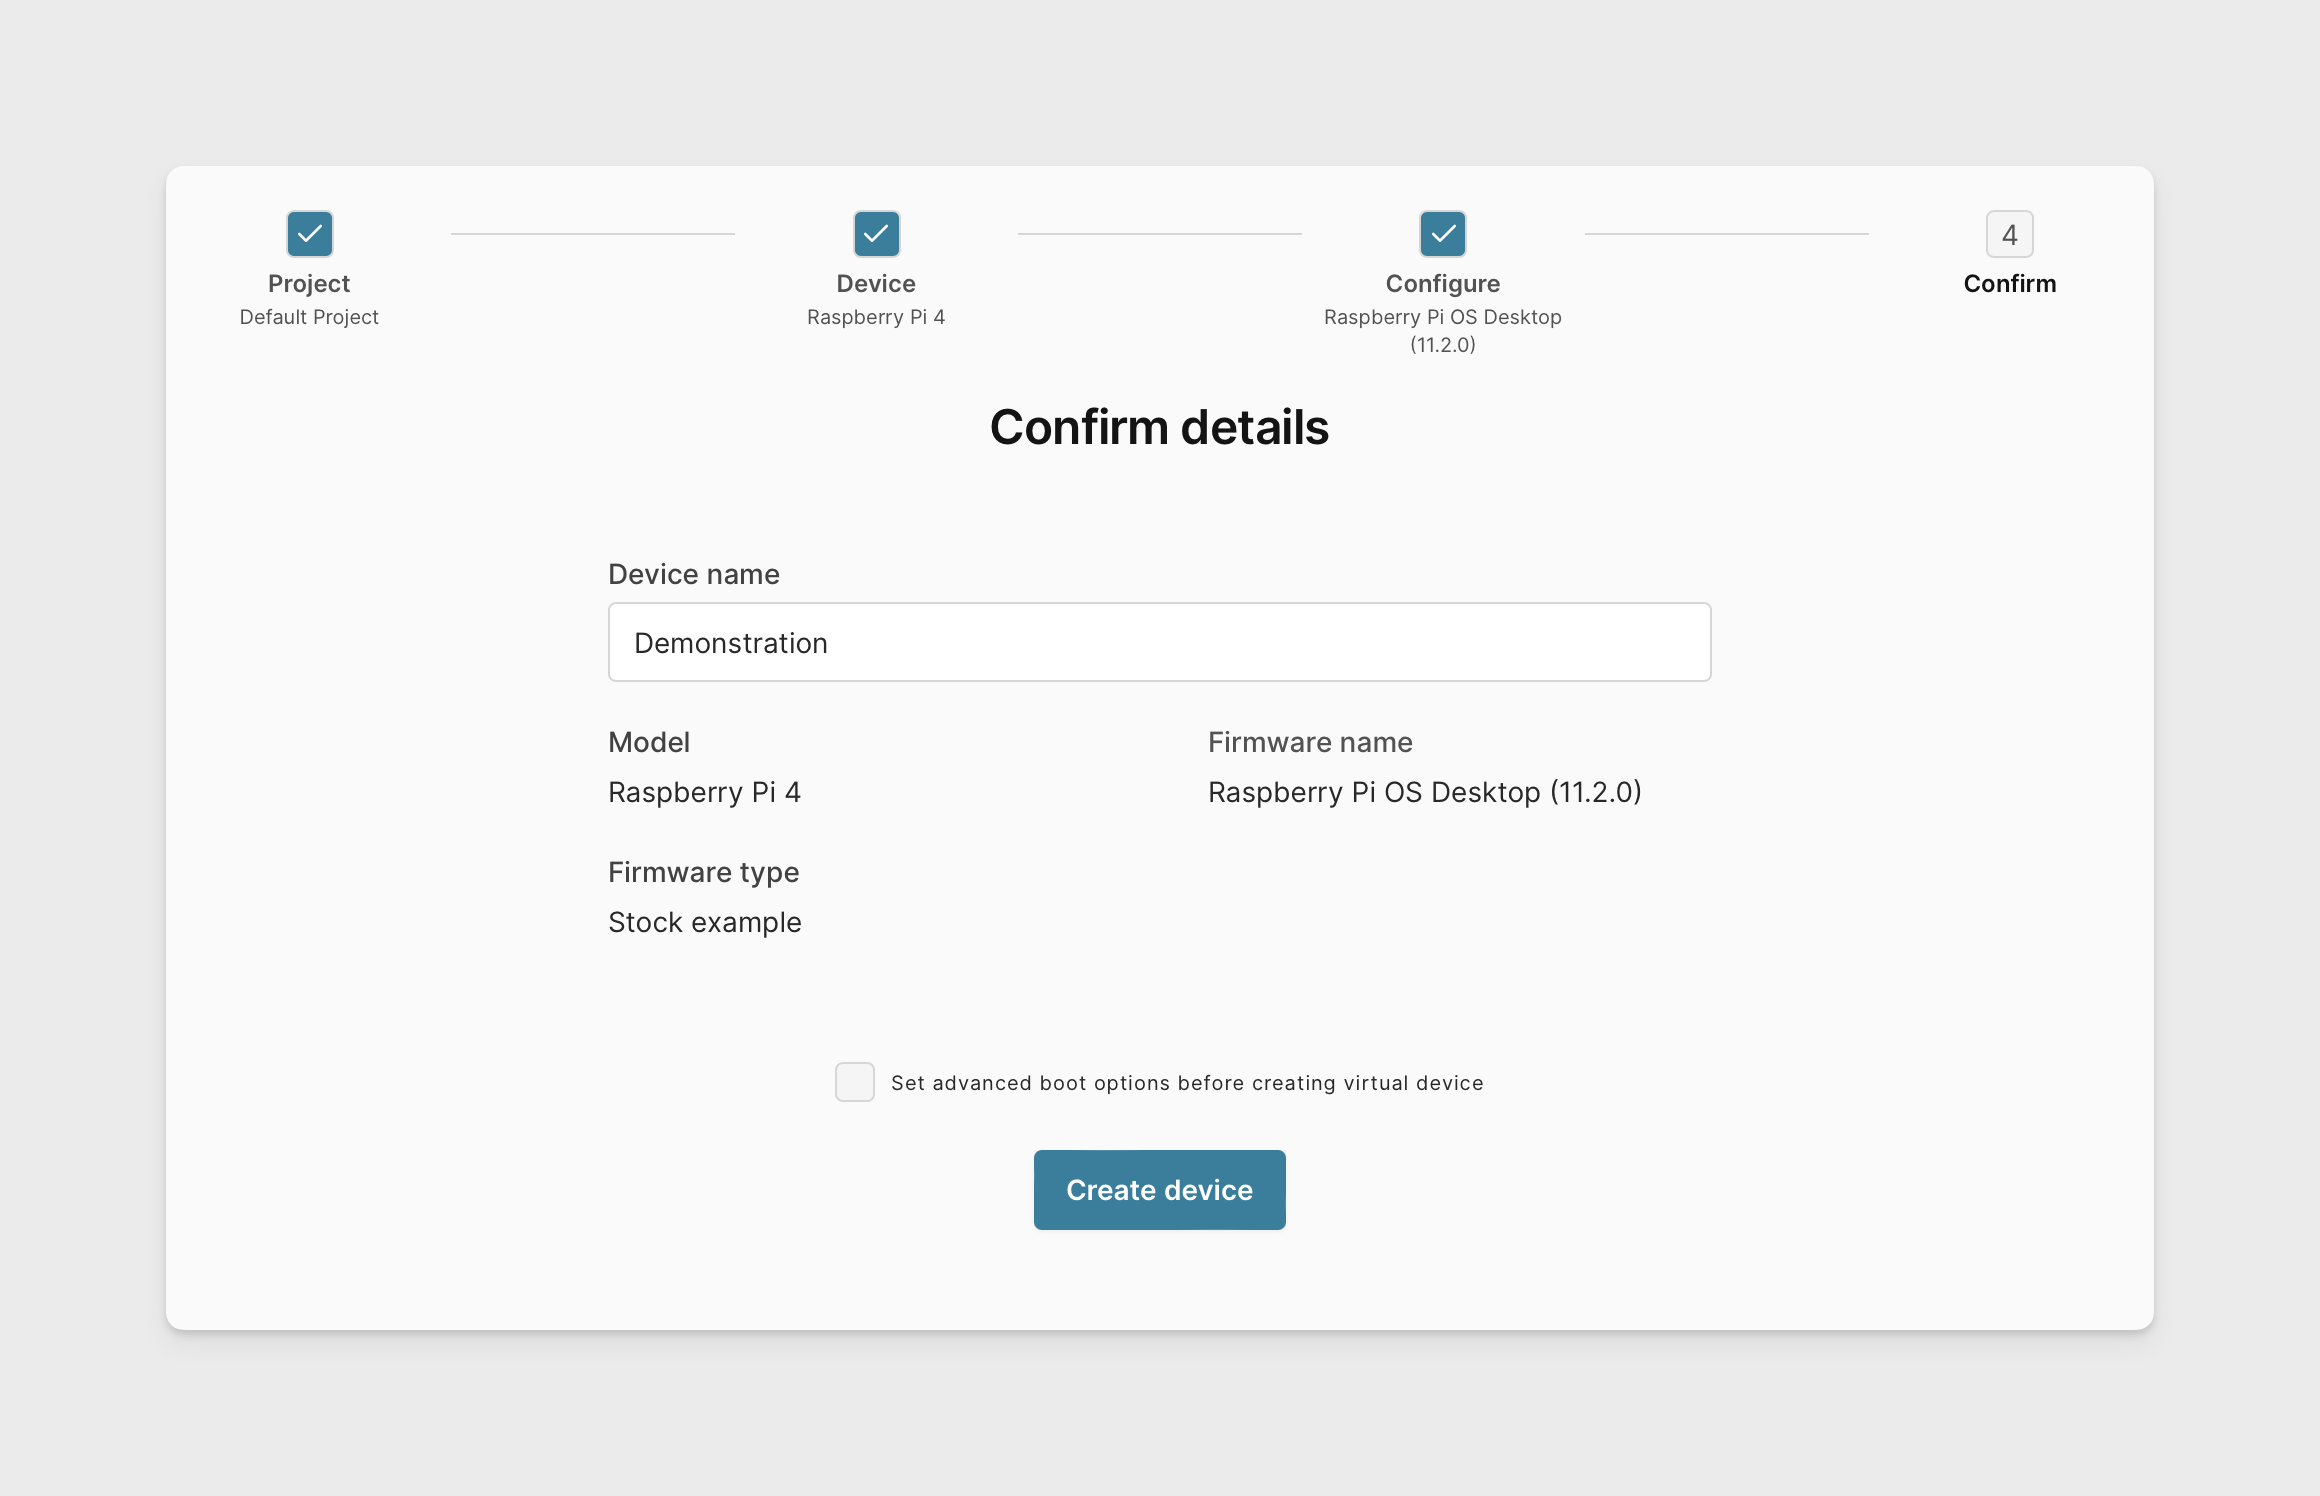
In the confirmation screen, click CREATE DEVICE. You can update the default name and use advanced boot options if required.

-
The device will then be created with custom firmware.