Detect Audio through the Microphone on STM32U5 Board
AVH includes support for connecting your computer's microphone to virtual devices. This article will demonstrate how to detect audio using the virtual STM32U5 board.
Build the ADF_AudioSoundDetector Firmware File
Follow this process to build the required .elf custom firmware files using the free STM32CubeIDE tool from STMicroelectronics.
-
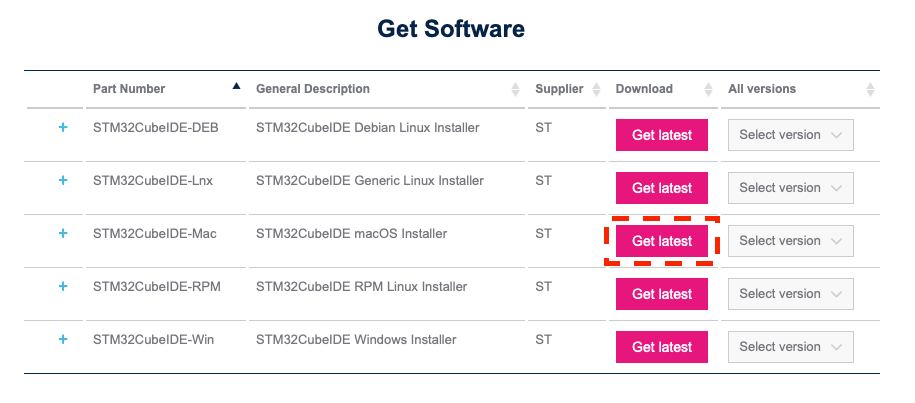
Install the STM32CubeIDE tool. In our example, we will use the MacOS version.
-
On the top menu, click Help then
Check for Target Selector Device Database Updates.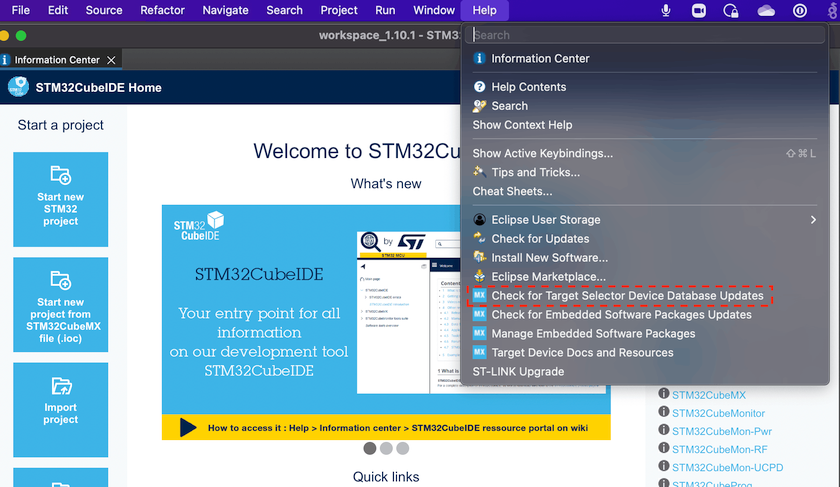
-
On the popup window click REFRESH. Your project files will update.

-
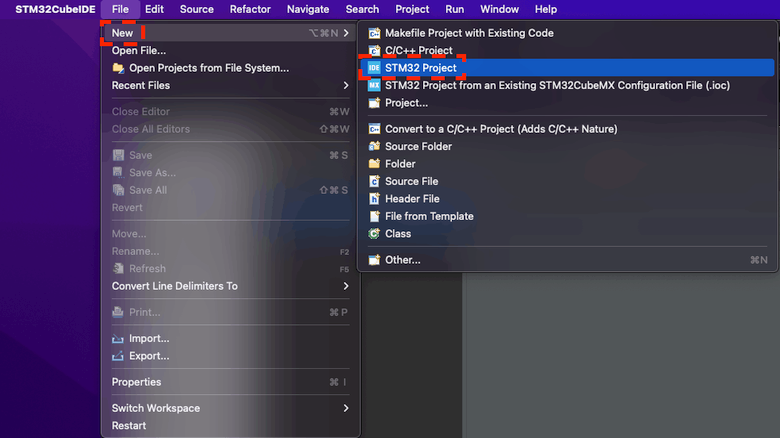
Create a new project by clicking New then STM32 Project from the File menu.
-
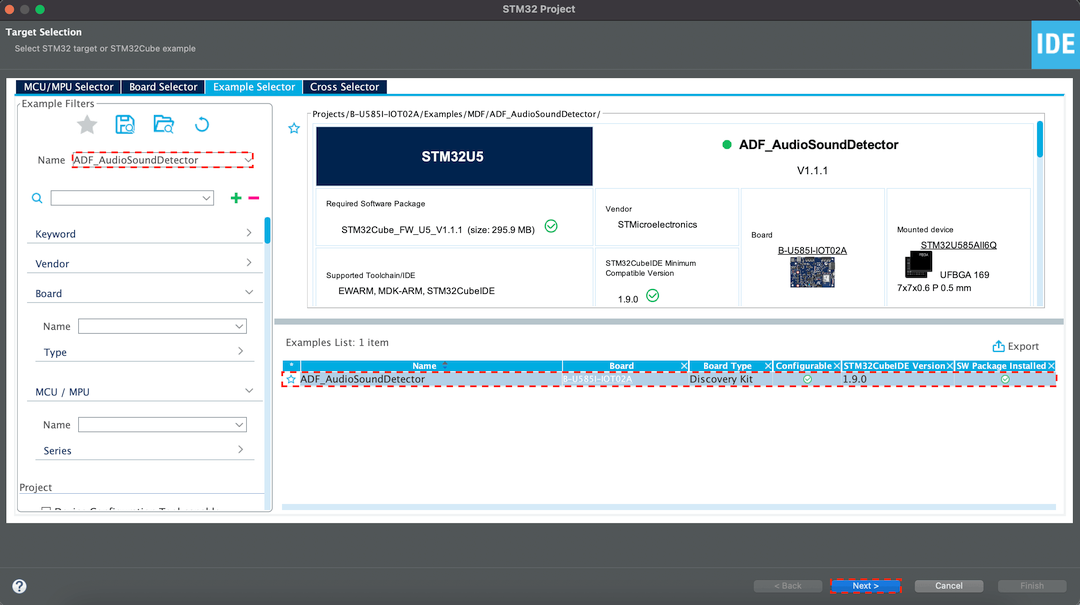
Click on Example Selector.
-
Set the Name to ADF_AudioSoundDetector, click on the ADF_AudioSoundDetector example to the right, and click Next.
-
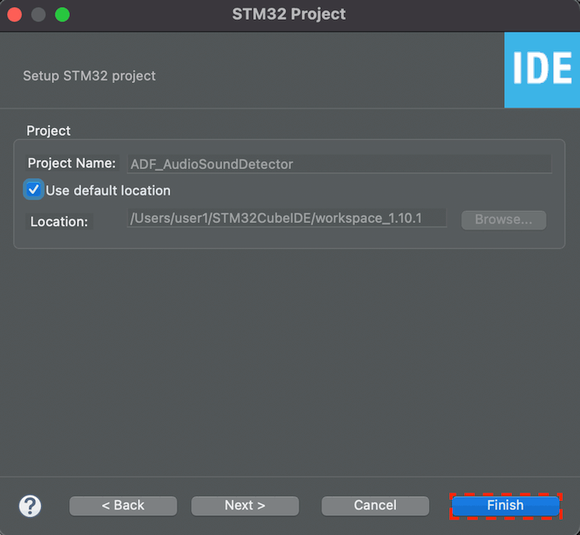
Click Finish to create the project.
-
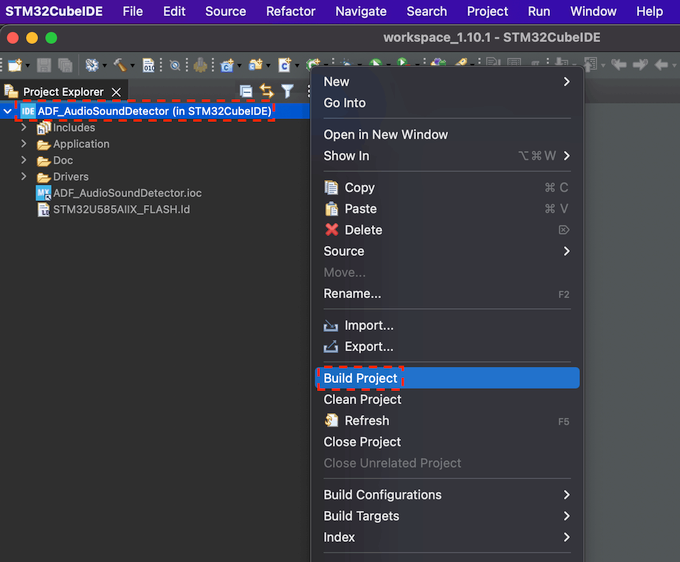
In the Project Explorer window, right-click on the ADF_AudioSoundDetector project and choose Build Project.
-
The default path for your firmware file is:
~/STM32CubeIDE/workspace_1.0.1/ADF_AudioSoundDetector/STM32CubeIDE/Debug/ADF_AudioSoundDetector.elf.ls ~/STM32CubeIDE/workspace_1.10.1/ADF_AudioSoundDetector/STM32CubeIDE/Debug/*.el
-
Proceed to the next section to boot the custom firmware file.
Boot the Custom Firmware and Detect Audio
Follow this process to boot the custom firmware and detect audio:
-
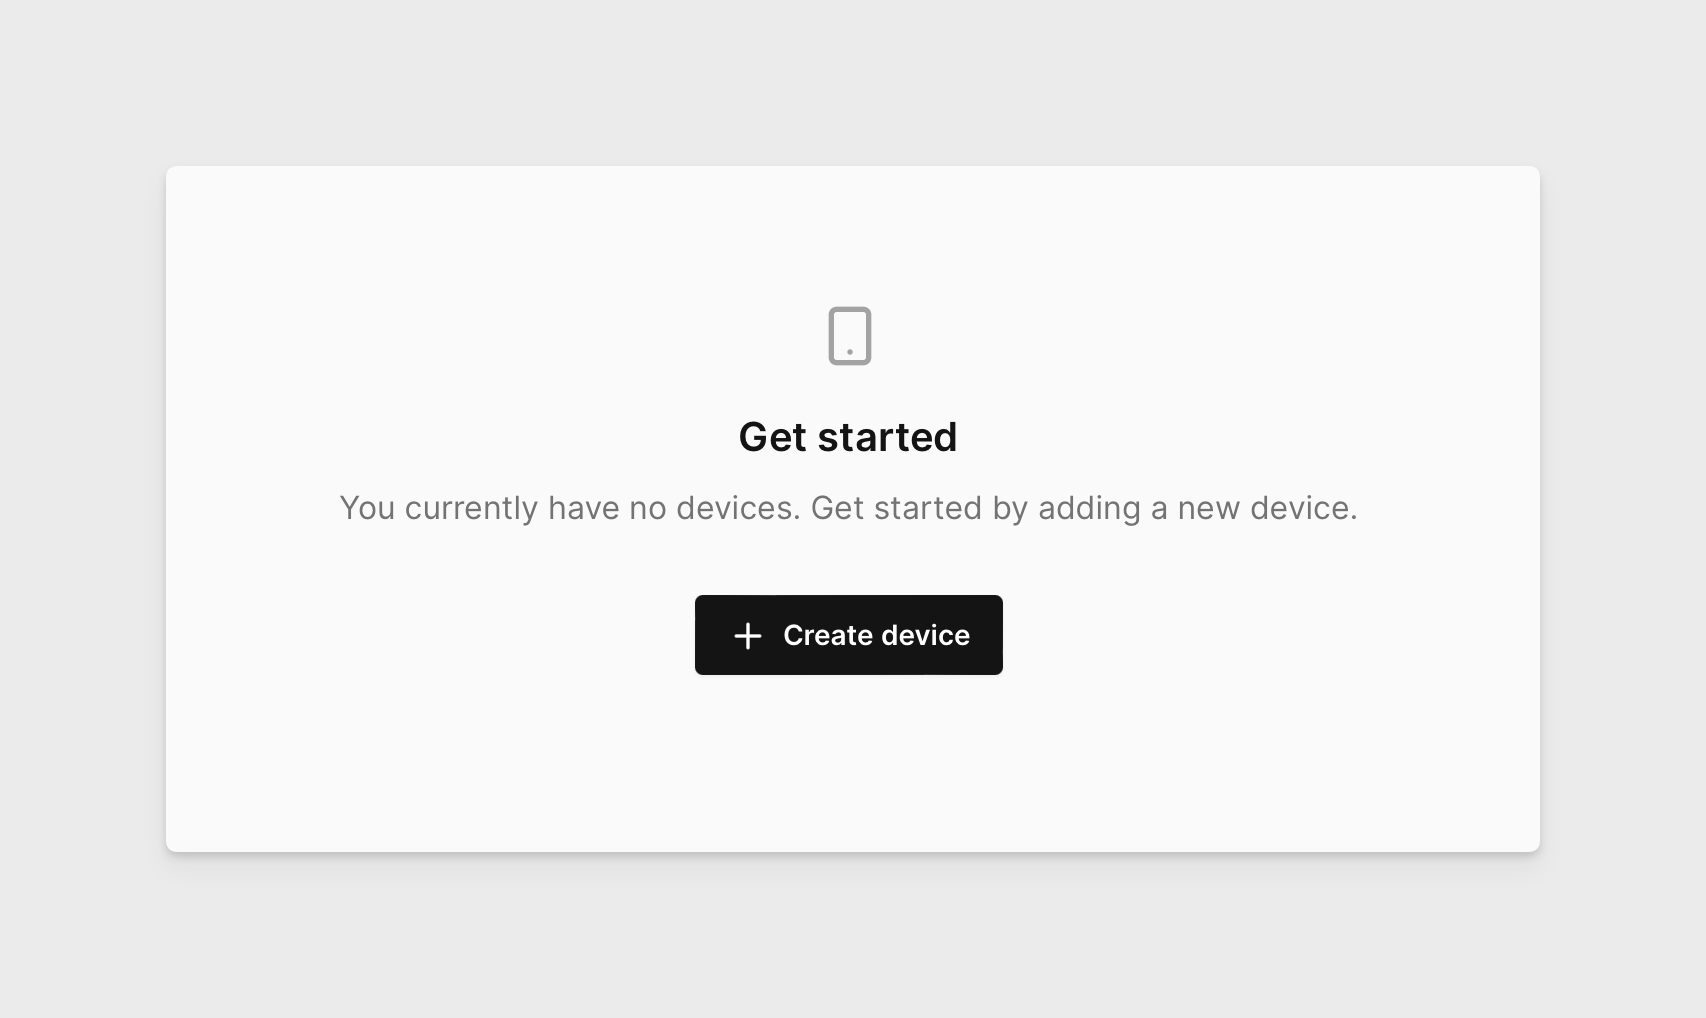
Log in to the AVH platform and click CREATE DEVICE.
-
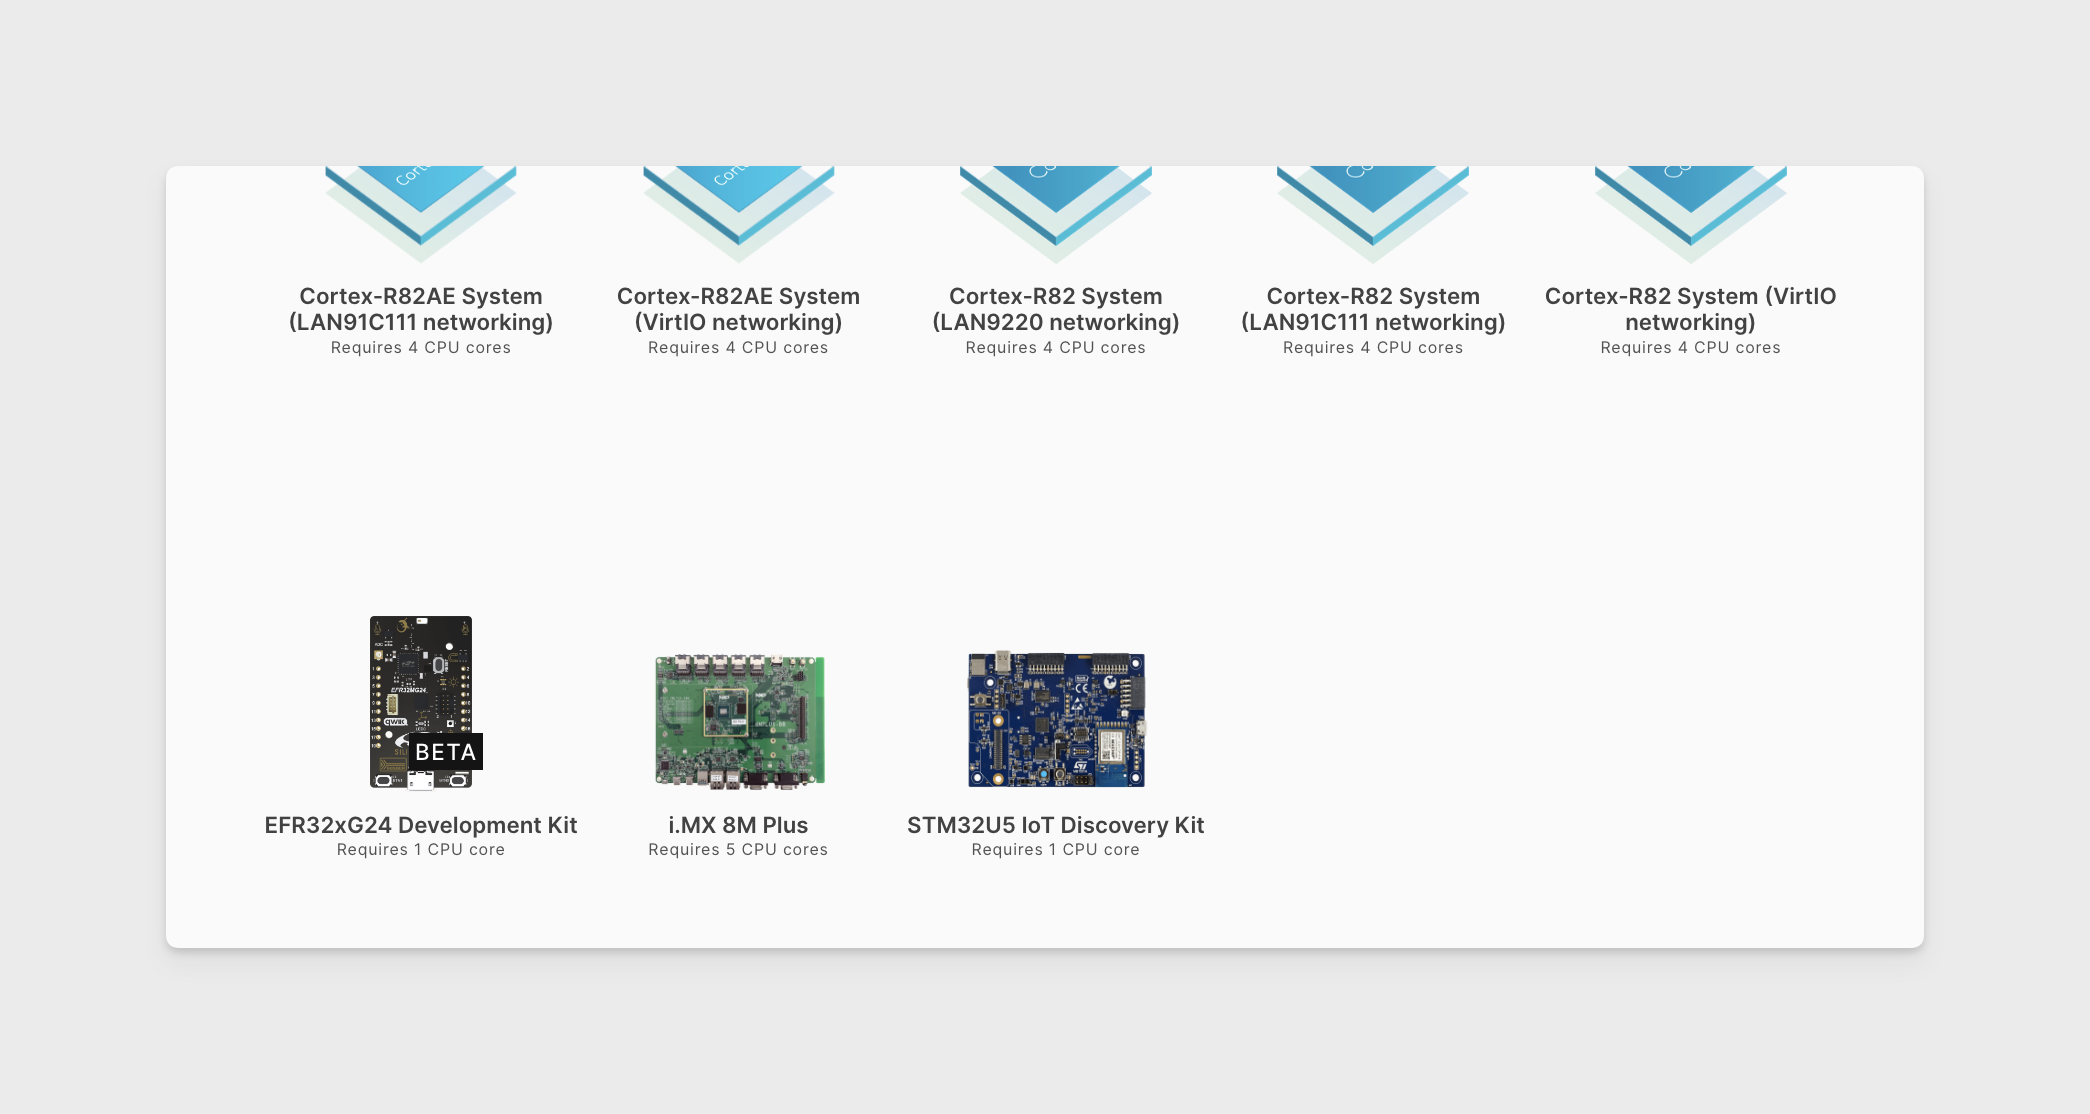
Click on the STM32U5 device.
-
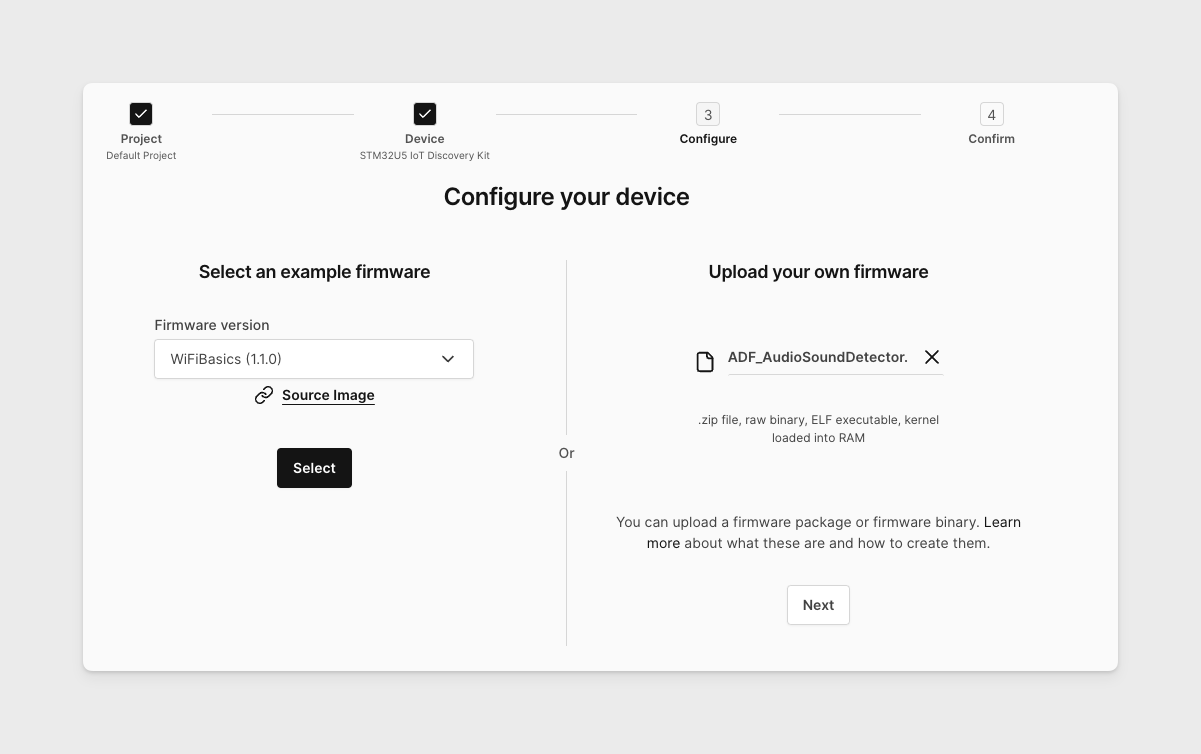
Upload your ADF_AudioSoundDetector.elf custom firmware file click NEXT, then choose CREATE DEVICE.
-
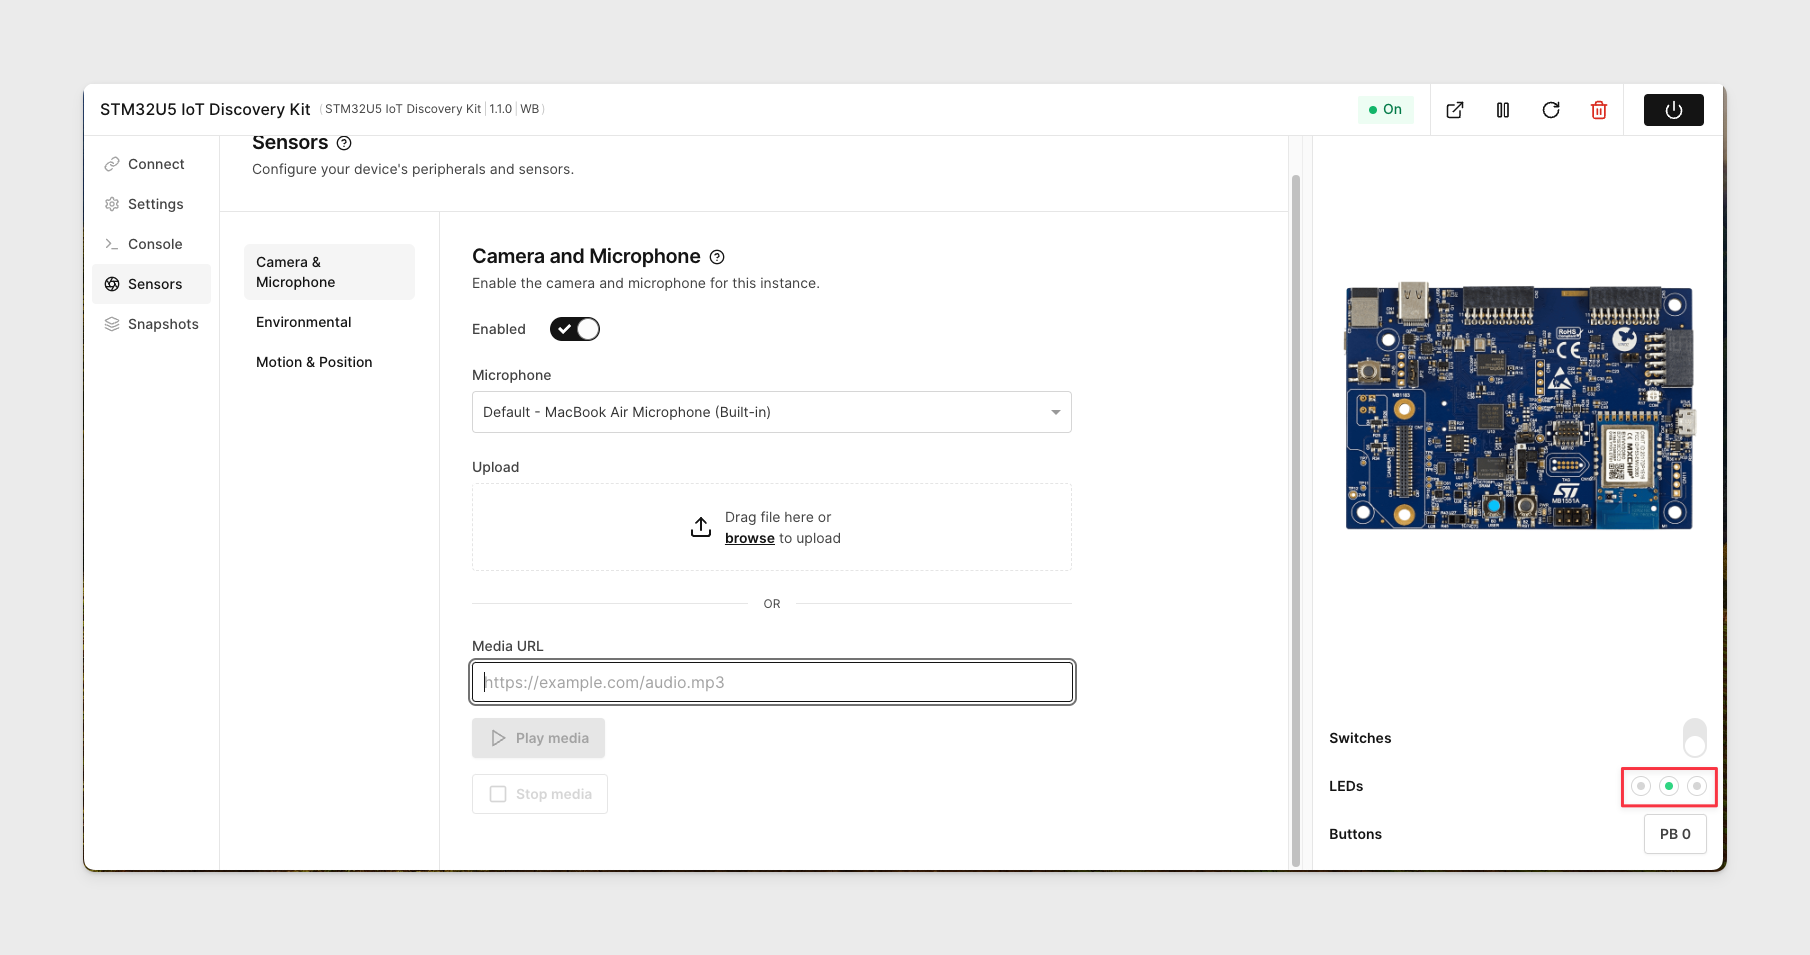
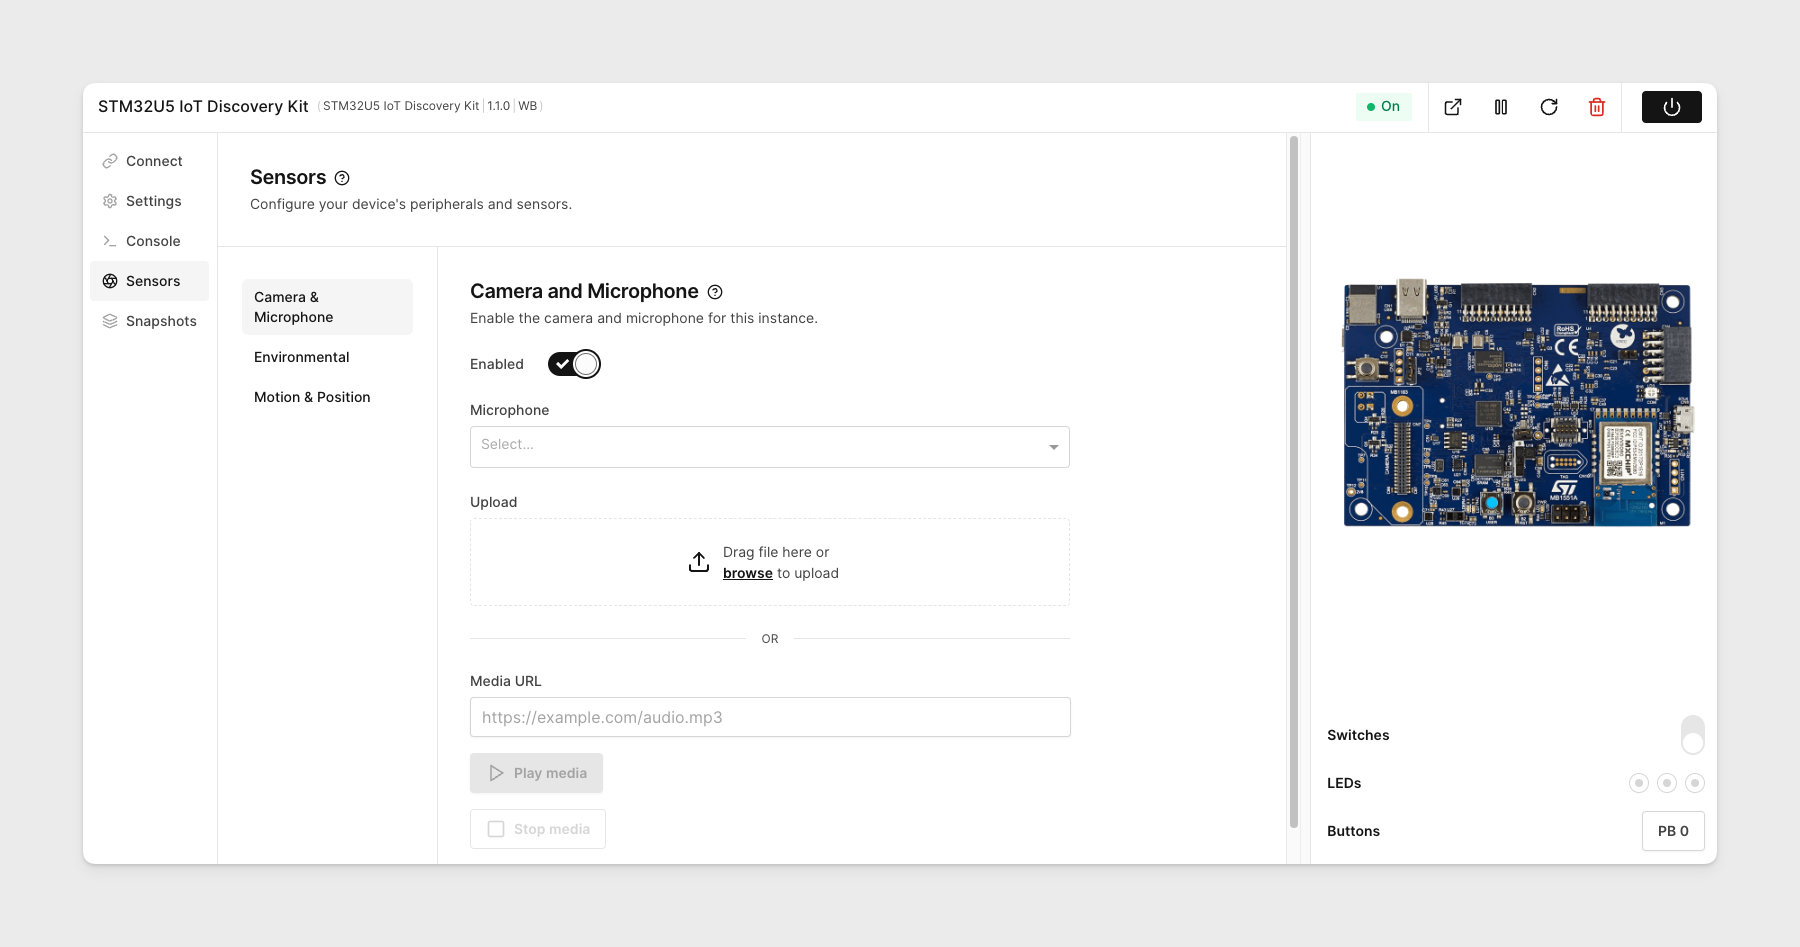
After your device boots, open the Sensors tab and enable the microphone.
-
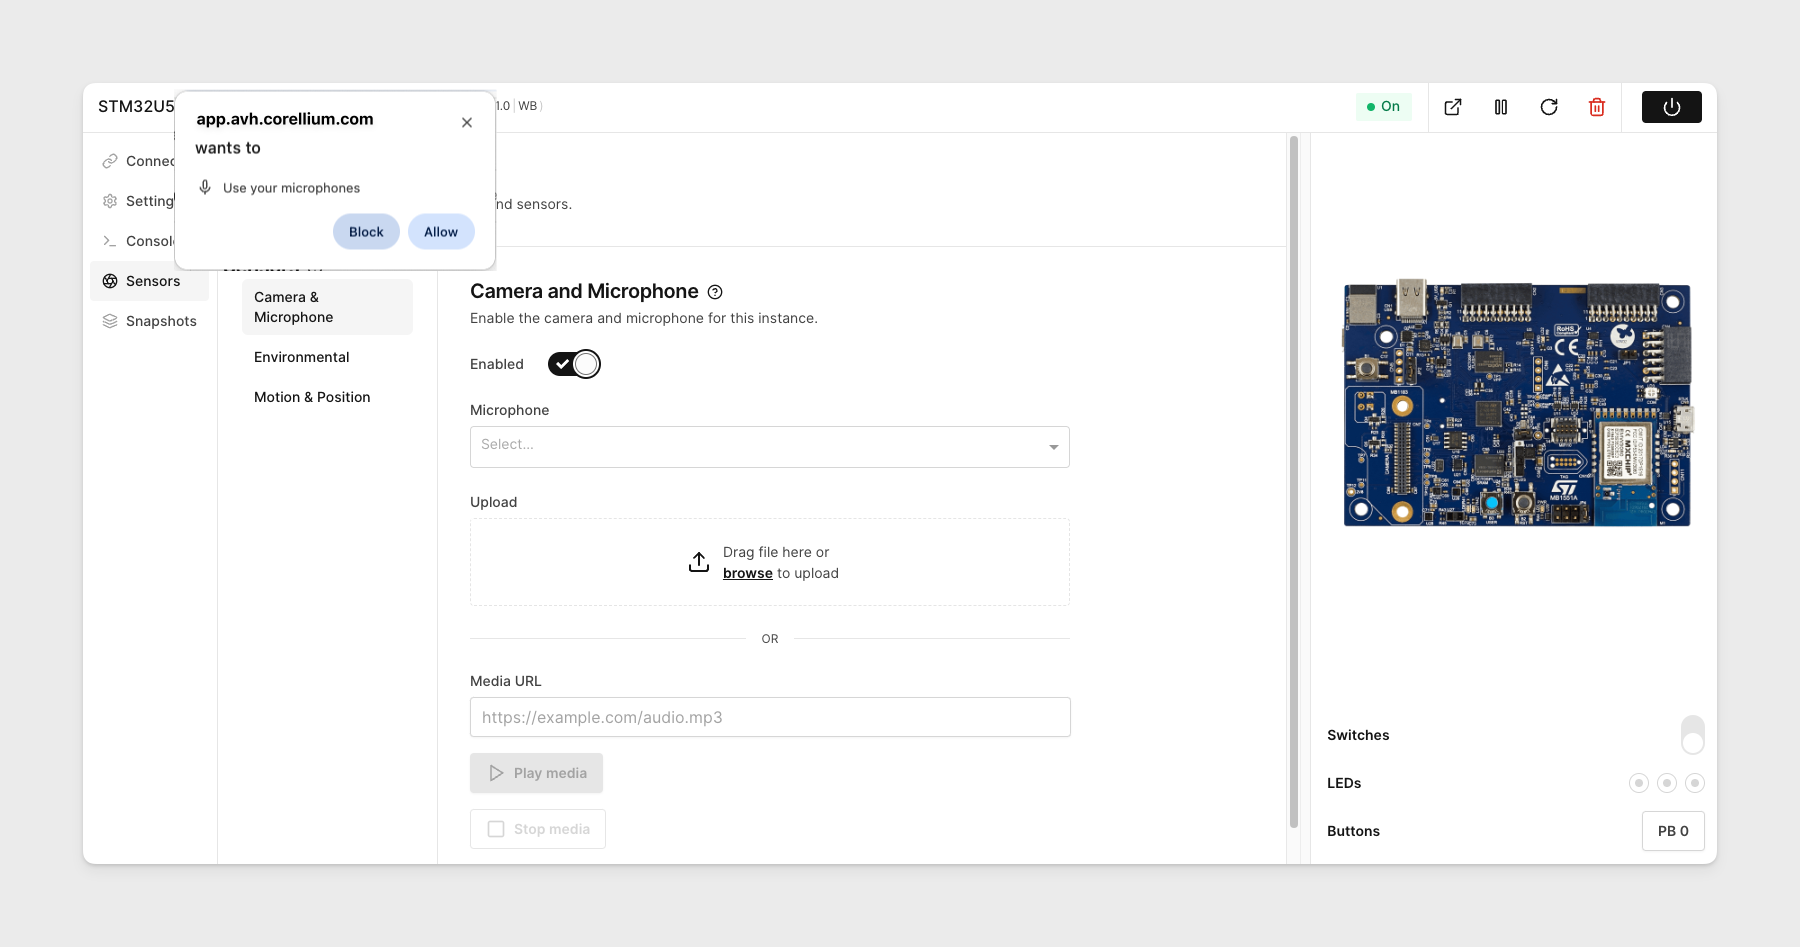
Confirm on your browser that you would like to share the microphone.
-
The device should begin automatically detecting sound. You will see LED #2 lighting green to indicate audio is detected.
